Using the ACF Home Page template
The new ACF Home Page template is an updated replacement of the standard Homepage template that provides users a cleaner look and better functionality. This is part of our strategy to update the outdated structure of our McGovern Medical School website. You will find the basic components of the Homepage template you used to work with but all in one box divided by their respective tabs.
To see a larger display, select the Full screen option, then select Quality ⇒ 1080p HD.
View a demo of the ACF Homepage template
To begin, create a new page, name it, then open the Template dropdown menu found in the Page Attributes metabox—the WordPress term for the containers found in the Dashboard.
Select ACF Home Page Template
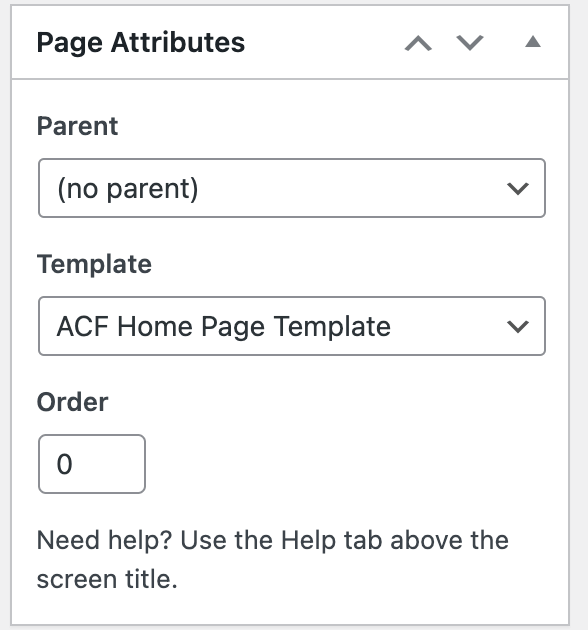
Once the template is selected, the ACF Home Page metabox appears. There are 5 tabs (or components) that make up the homepage.
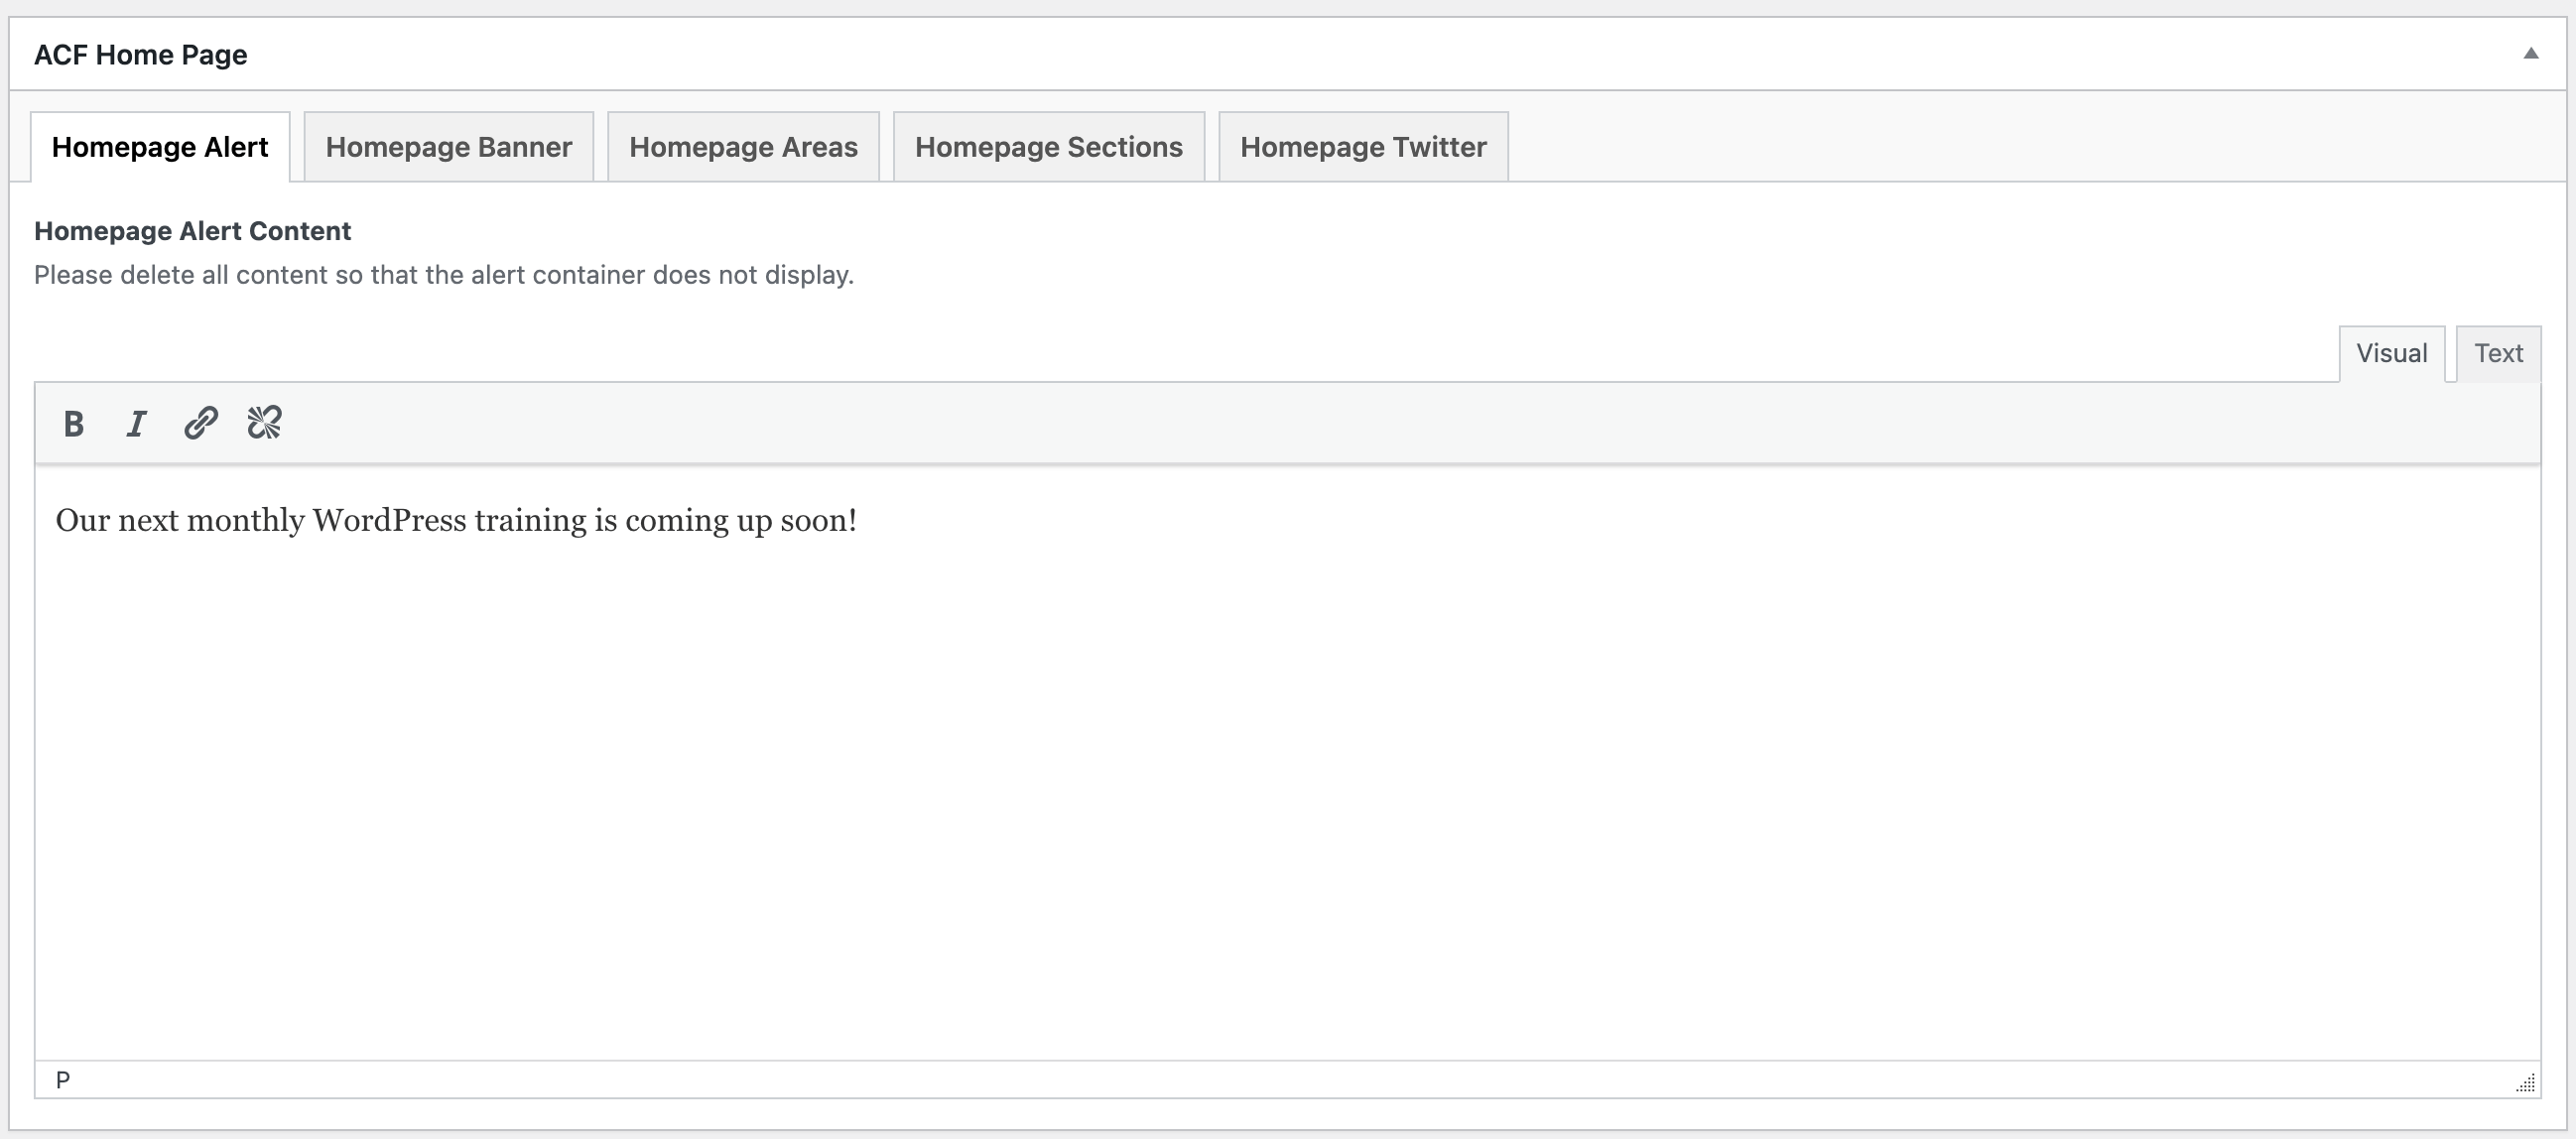
Homepage Alert
Here you can add text to the text editor box in order to display a message at the top of the page. If no text is added, then the banner will not display. When deleting content, be sure not to leave a space, as that will cause the alert bar to appear as well.
Here is how the alert will display on the page

Homepage Banner
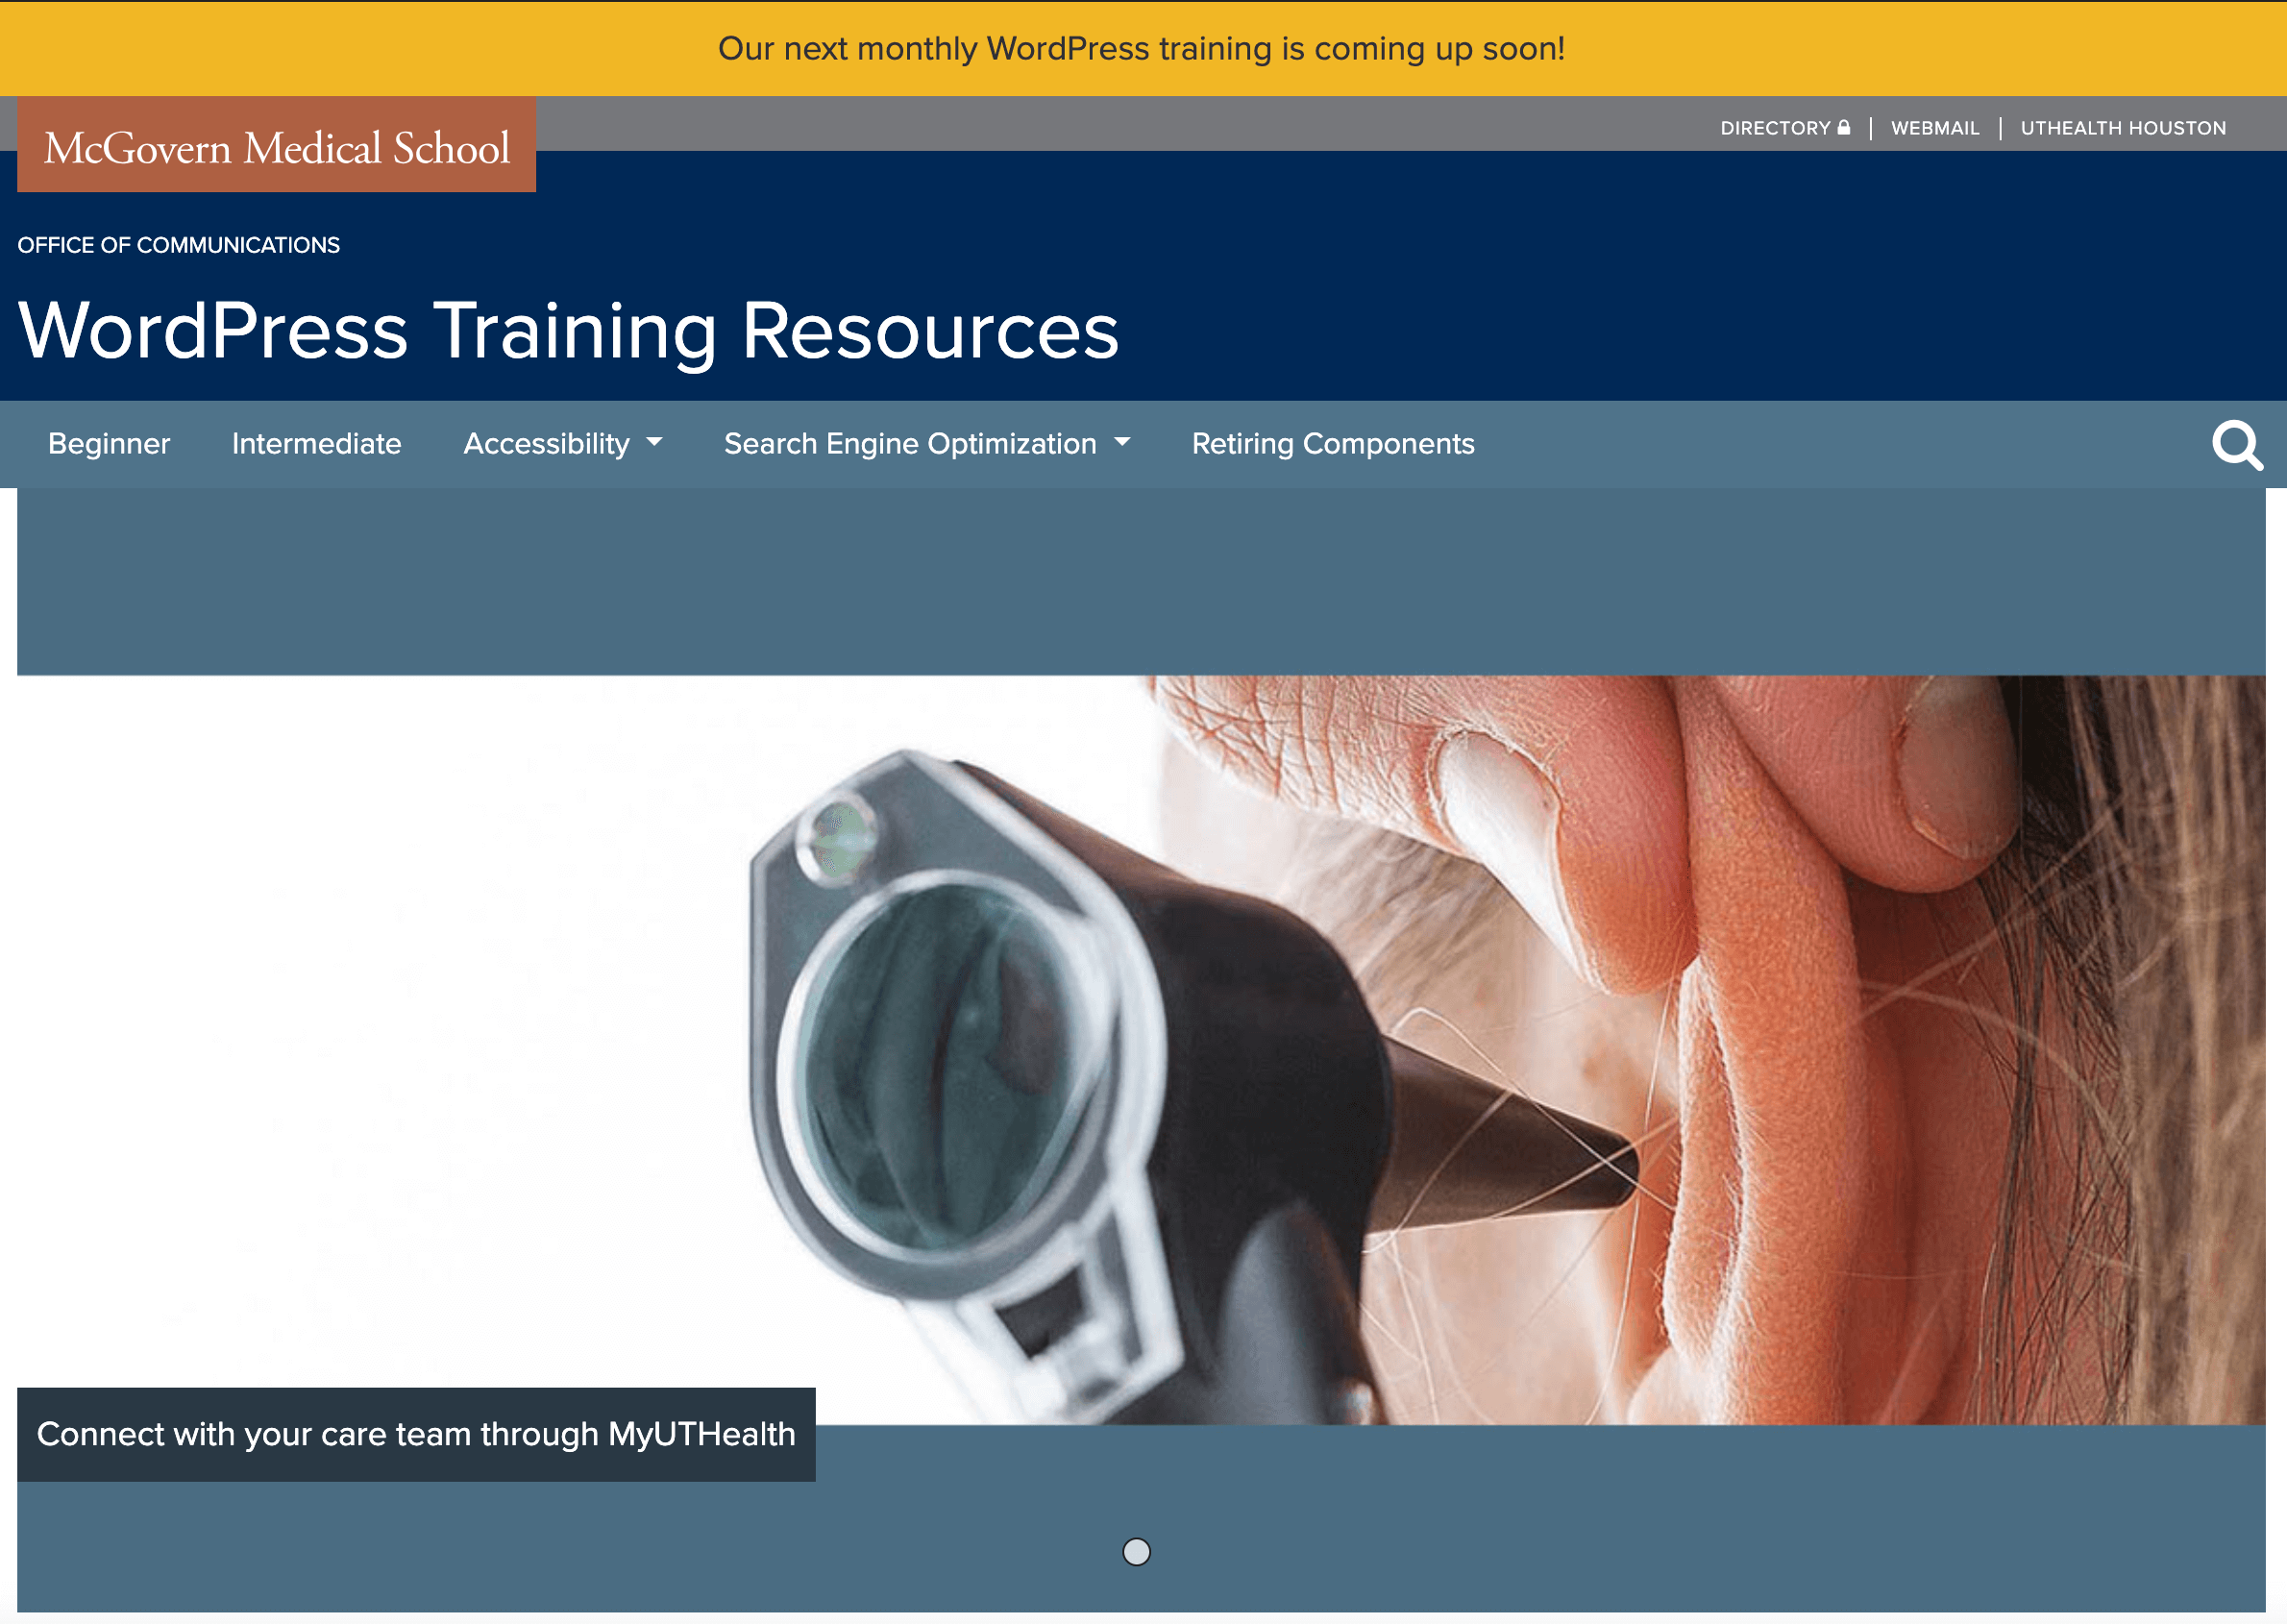
You may add an image banner to your page, up to three slides. To start, click the Add Slide button and a row of fields will appear. Each row will contain fields allowing you to:
- choose an image to display
images must be sized to 1200 pixels wide by 600 pixels tall.
- add text to overlay on top of the image
- choose which side to place the overlaid text (left or right)
- paste a URL to link the image and text
- Images used in this area must be sized to 400 pixels wide by 200 pixels tall.
- Adding links to the description will break the page. Please only add text to the description field.
- Adding a link without text will create empty alt text information, so it is best to put some text.

Here is how the banner will display on the page
Homepage Areas
Homepage Areas are the set of buckets that appear under the image banner. Only three buckets can be added. These are used to help promote certain services or programs on your site. Be strategic on what to place there!
To create your buckets, simply add content in each of the Homepage Areas Item boxes. Each box contains a field to add an image, title, description, and link.
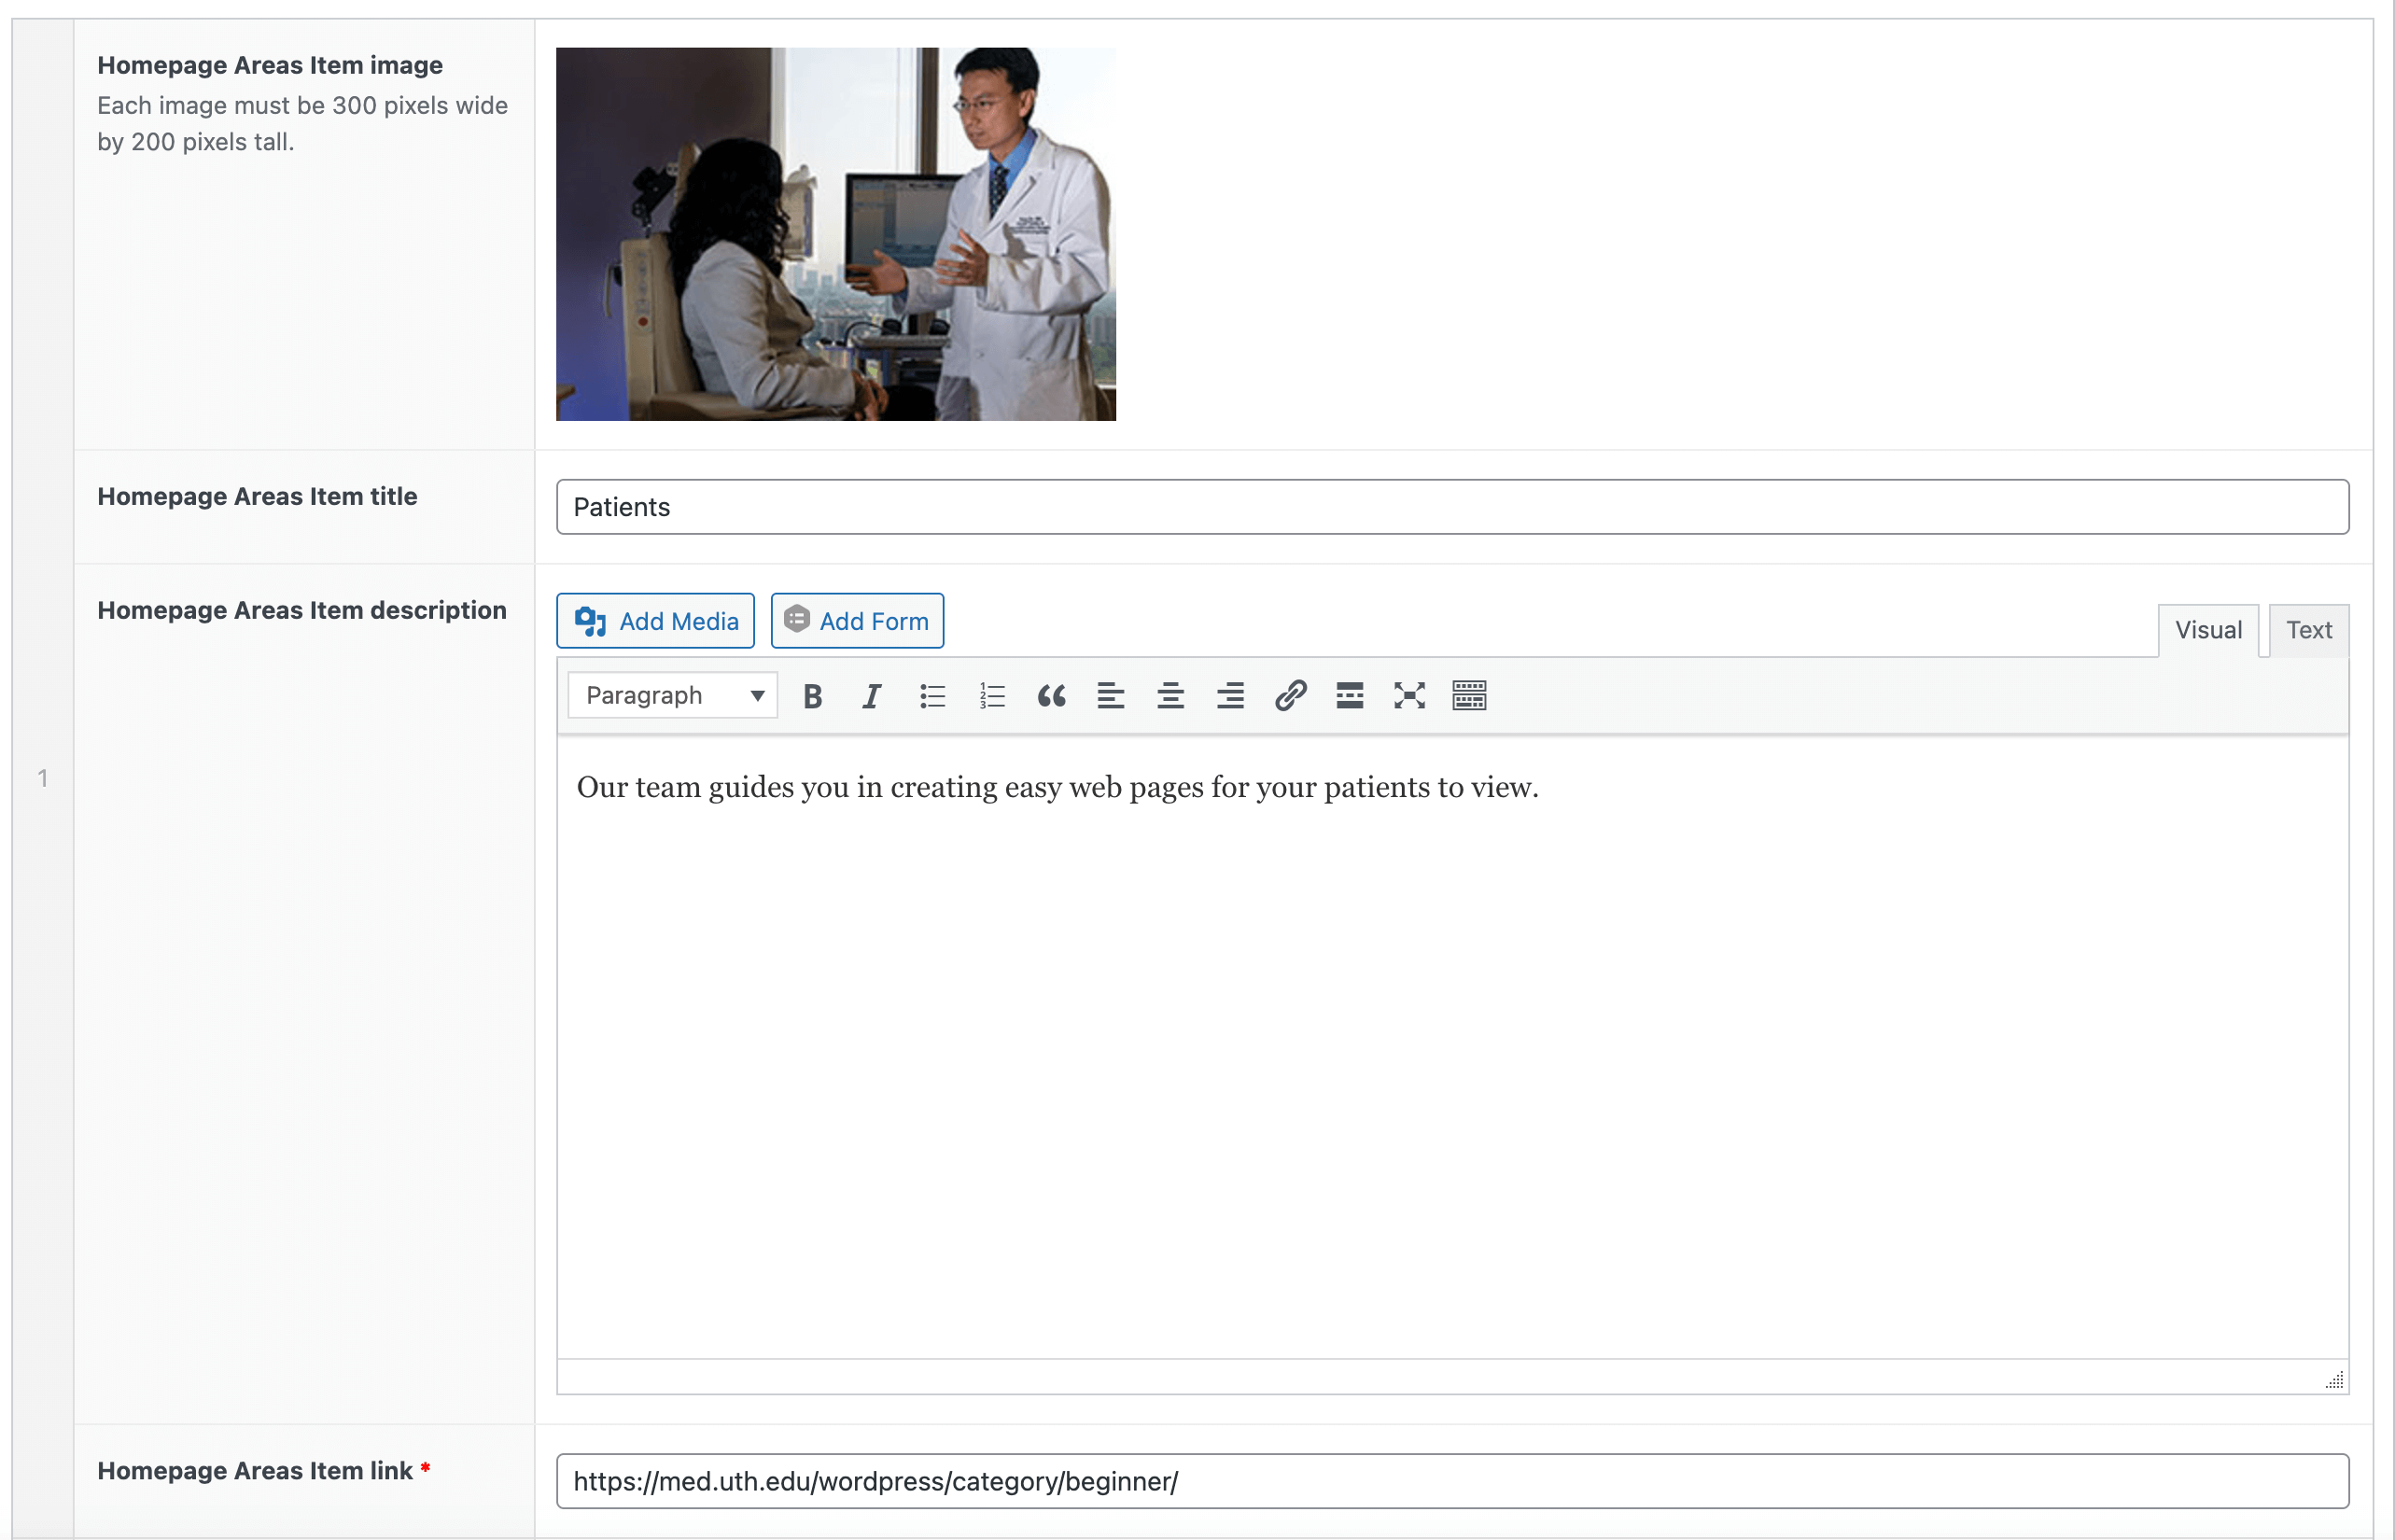
Each field is optional to fill in. But we recommend using this feature to its full extent to drive users to other parts of your website.
Here is how the Homepage Areas will appear on the page

Homepage Sections
This area allows the addition of various sections: simple layout, calendar, and news.
Click the Add Row button at the bottom right corner of the metabox to start. A small list will pop up with the selection of sections mentioned above. Once you click on one, its container will appear.
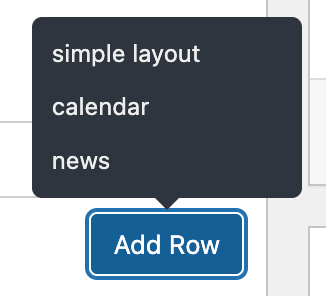
Each section is movable. So, you can drag them around and reorder the sections to your liking. The order set in the back end is how they will be displayed on the page.
You can duplicate sections by clicking the double window icon near the top right of the section container. You may also remove sections by double clicking the minus icon.
Simple Layout Section
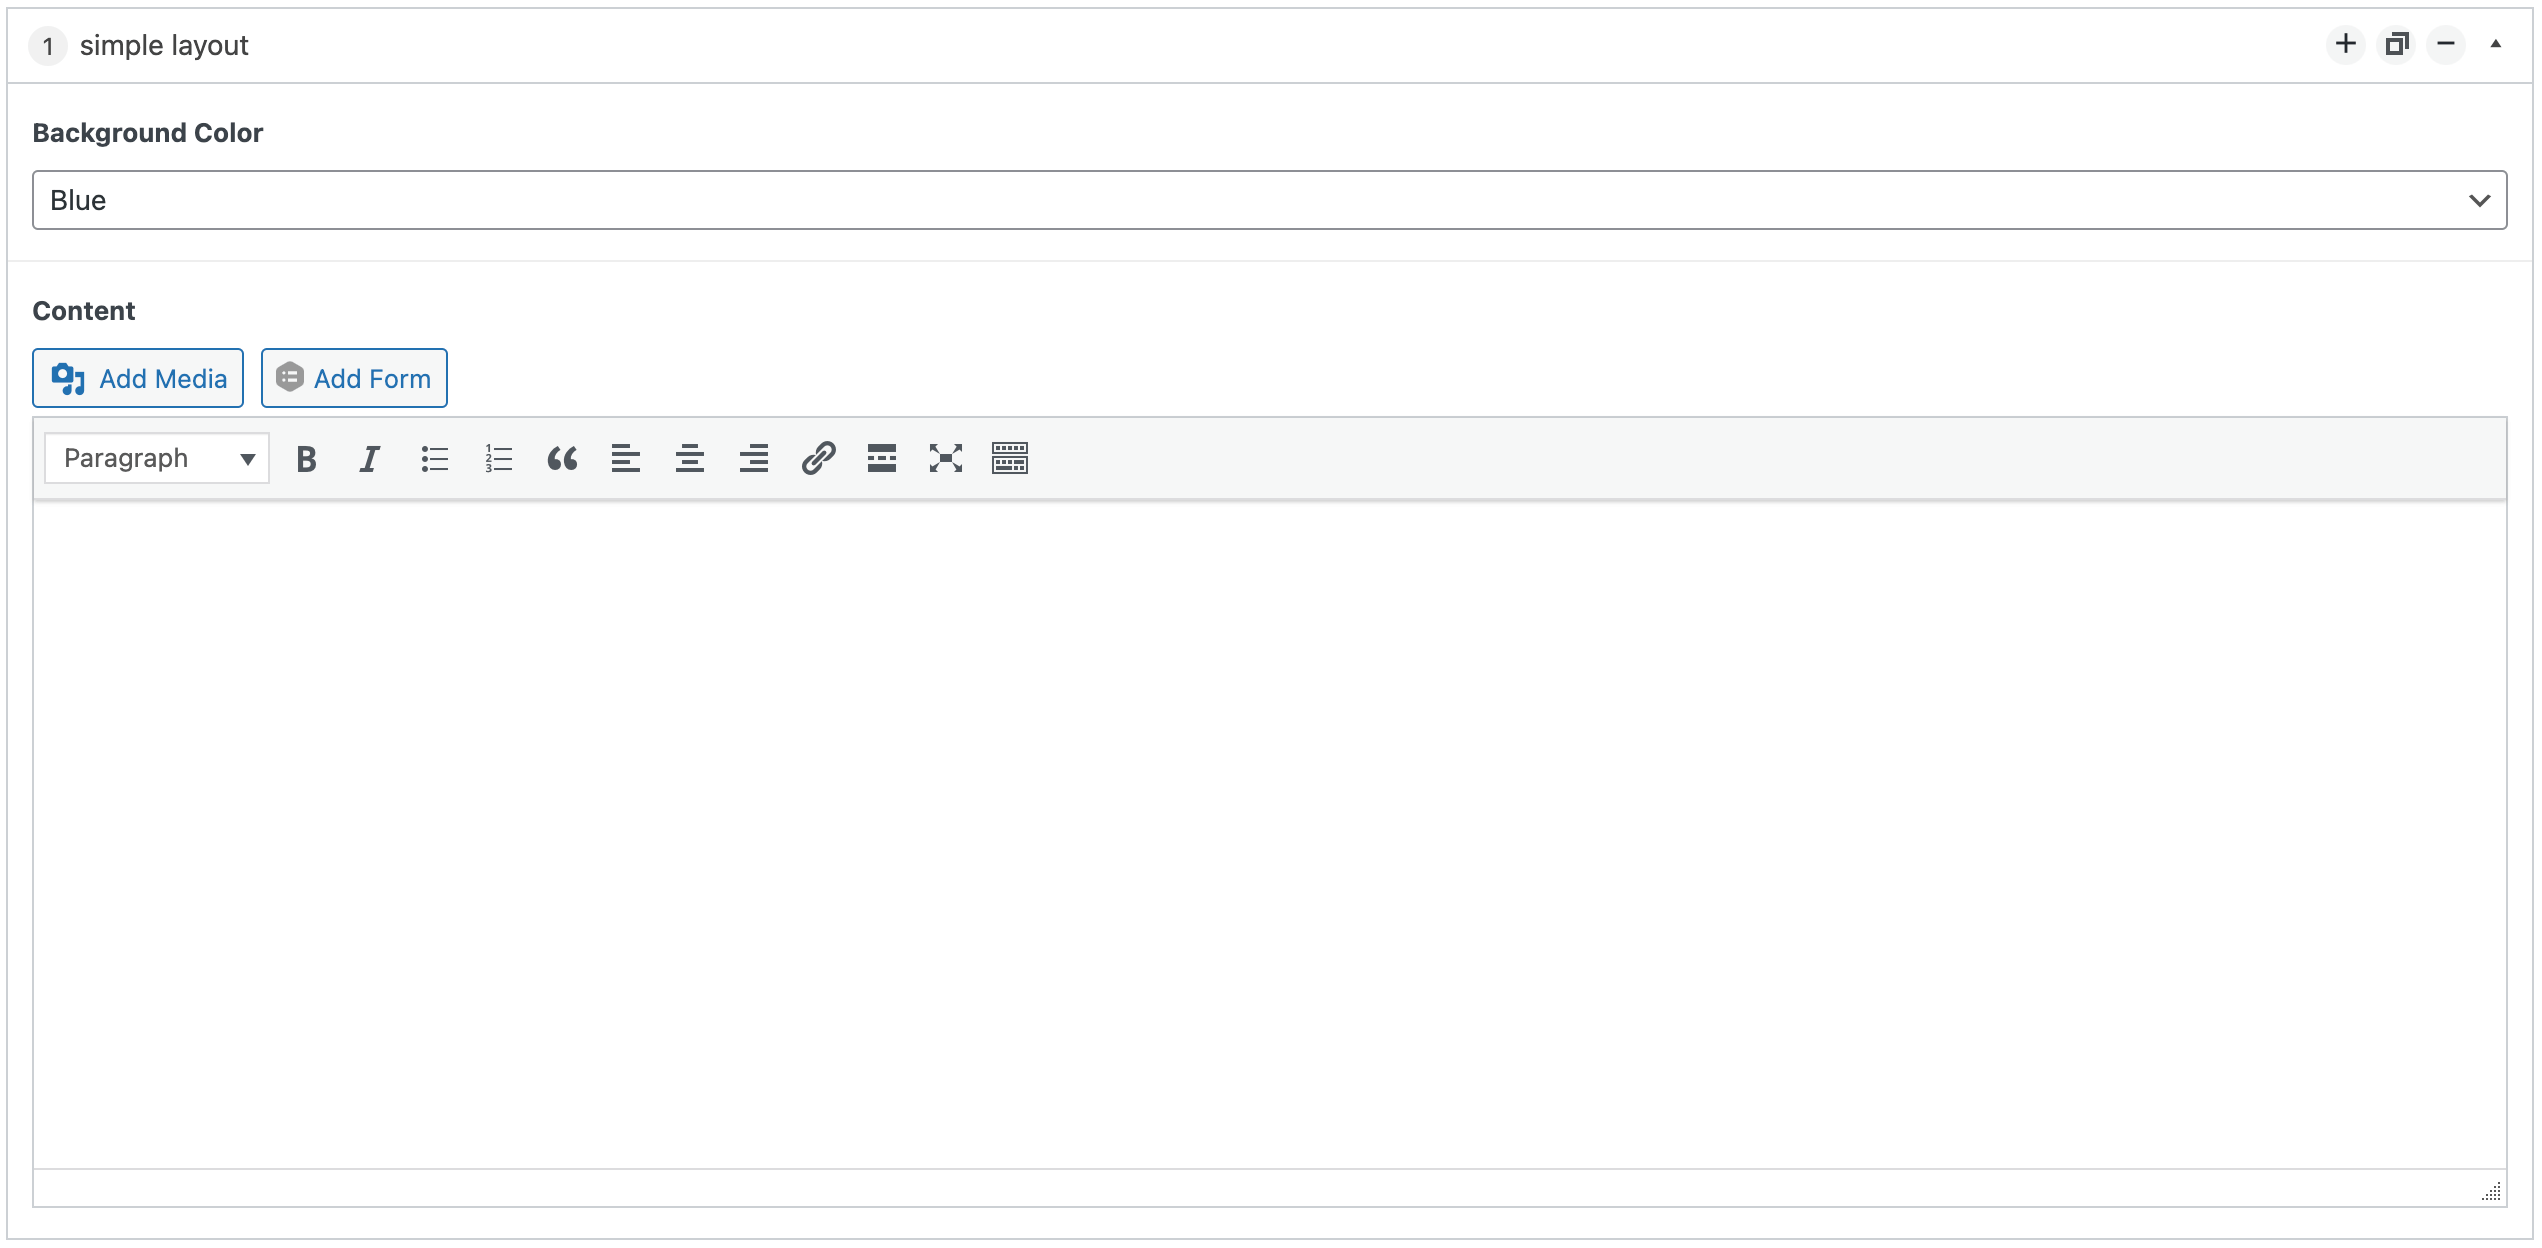
This section allows you to display content on top of a colored background. You may choose from Blue, Orange, Green and White.
Simply choose the background color you wish and add text to the text editor box.
Here is how this section can be displayed as

Calendar Section

If you have a Google calendar containing events for your group, you may connect it to the homepage using this box. Once you select the calendar section, you will be given a choice whether to display calendar items or not. Select Yes and you will see a field to enter your calendar ID appear.
Once you add the ID and save, the calendar will appear as so

Screenshot taken from Faculty Senate website
News Section

This section will display the latest three News posts from your website. All you need to do is activate it by selecting it from the list after clicking the Add Row button. No other action is required.
Here is how this section will be displayed as

Homepage Twitter
This area will allow you to link your group’s Twitter account to the homepage. You will need to enter your Twitter Username and the number of tweets to display to activate it.

Here is what your Twitter feed will look like on the page

After you make the necessary edits to these areas, save your changes by clicking the Update button.