How do I Encrypt my Windows Laptop?
On this page, you will learn about how to encrypt your Windows laptop with BitLocker. In addition, you will learn:
- Requirements for BitLocker
- How to turn on BitLocker in Windows
- How to Enable TPM chip in the Dell BIOS
- Upgrade Windows 10/11 to Education Version
- Verify if Full Disk Encryption is Enabled
BitLocker Requirements (Windows only)
The following system requirements will allow Windows-based computers to be secured using BitLocker disk encryption.
- Windows 11 Pro, Enterprise, or Education versions
- All Windows-based computers should include these requirements.
- Trusted Platform Module (TPM) 2.0 or higher. Note: TPM chip must be enabled in BIOS.
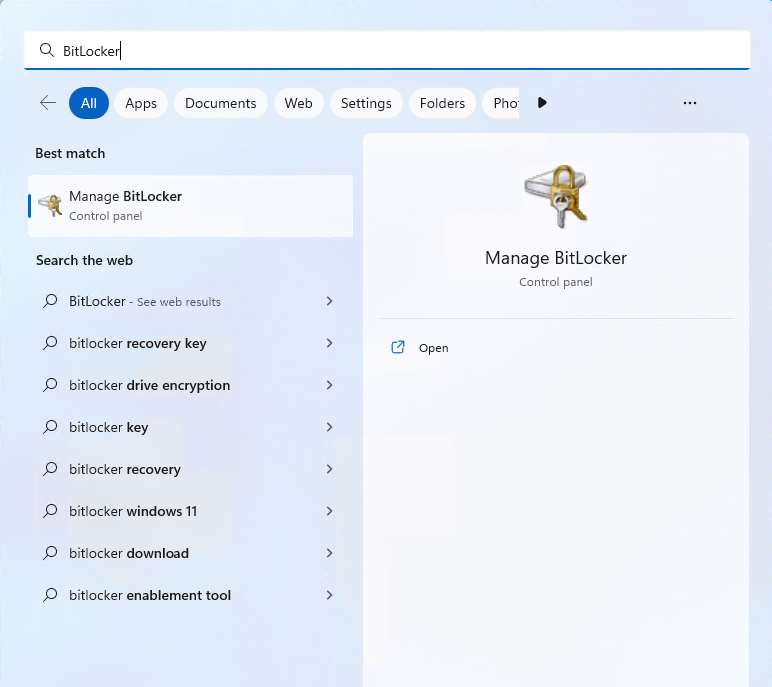
Turn on BitLocker in Windows
Click the Windows Search button (1) and type “Manage BitLocker” (2). Select Manage BitLocker (3).
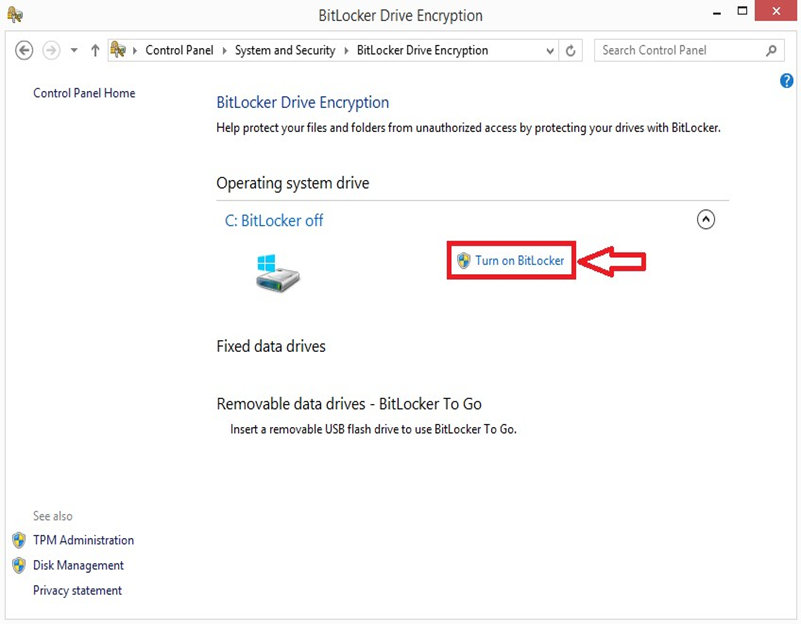
Click Turn on BitLocker.
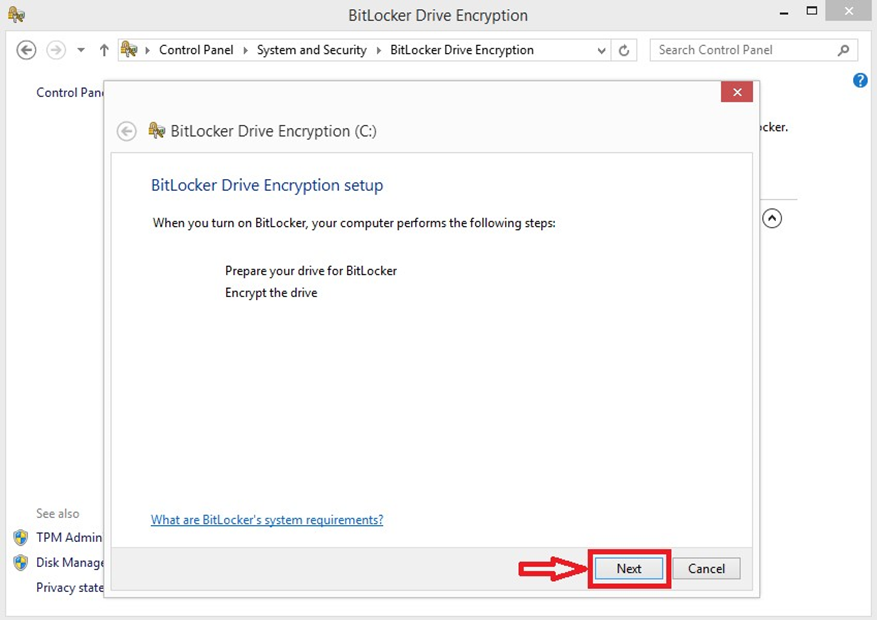
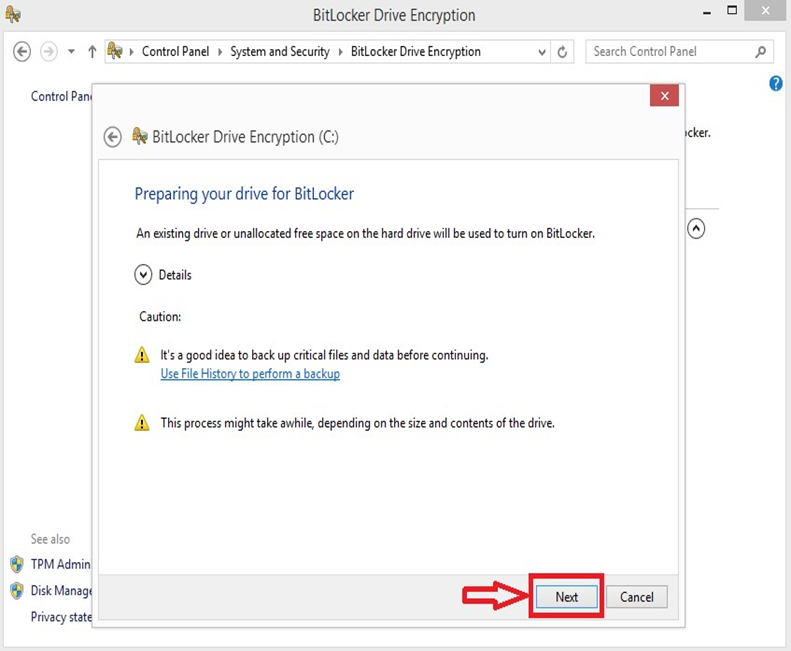
Click Next to begin preparing the drive for BitLocker.
Back up personal data before encrypting the drive to prevent data loss, click Next to continue.
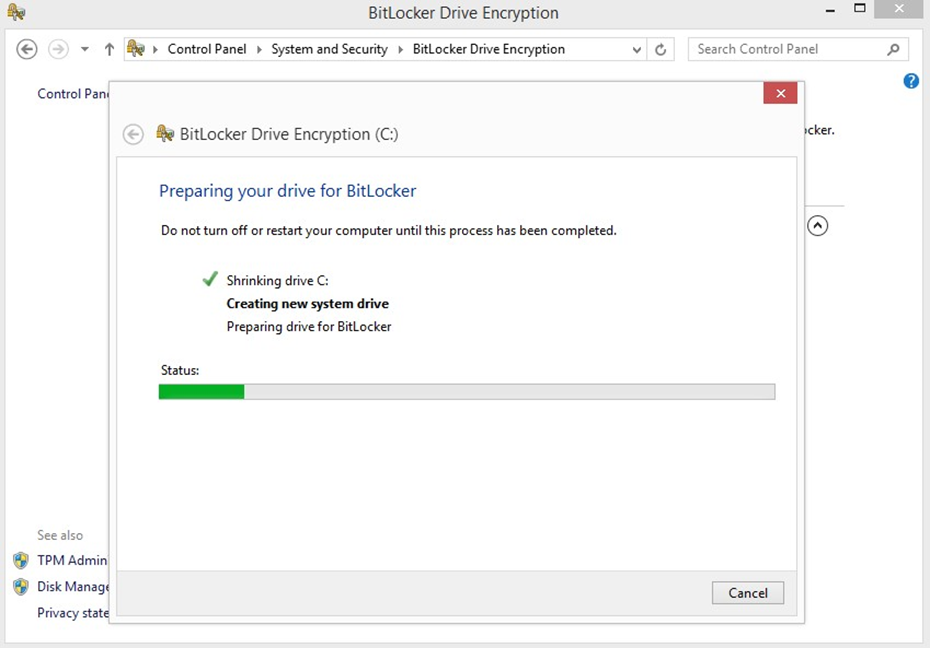
The preparation process should finish in a few minutes.
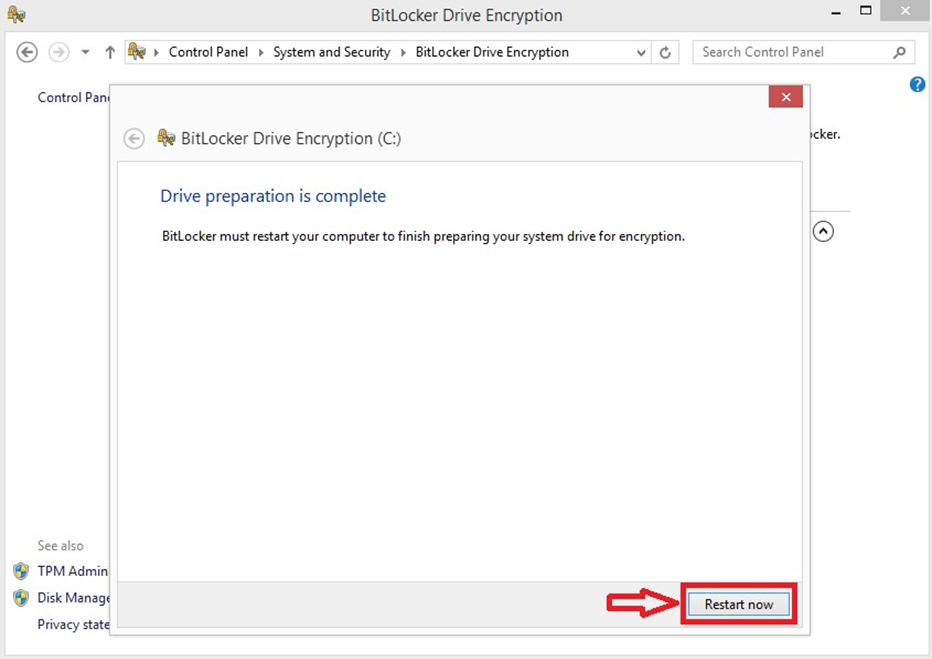
Click Restart now.
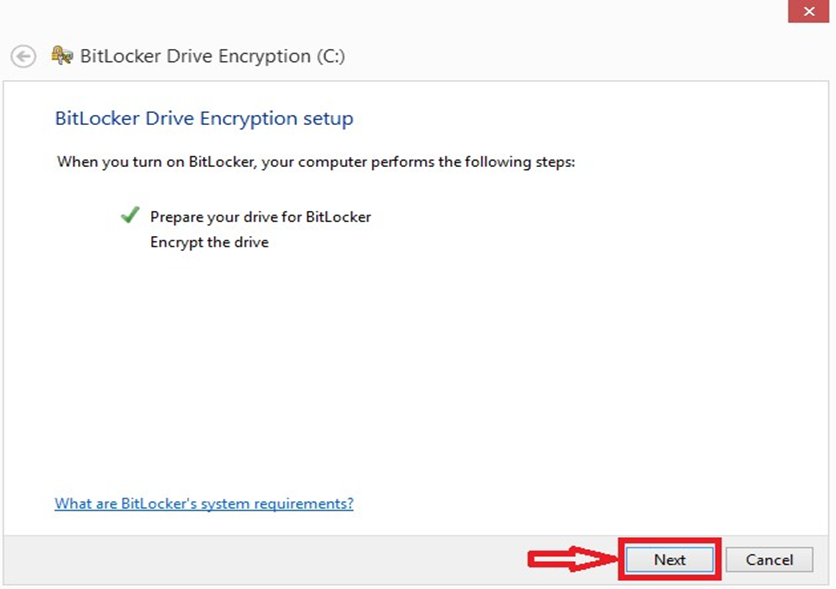
After the computer restarts, BitLocker Drive Encryption will pop up automatically. Click Next to continue.
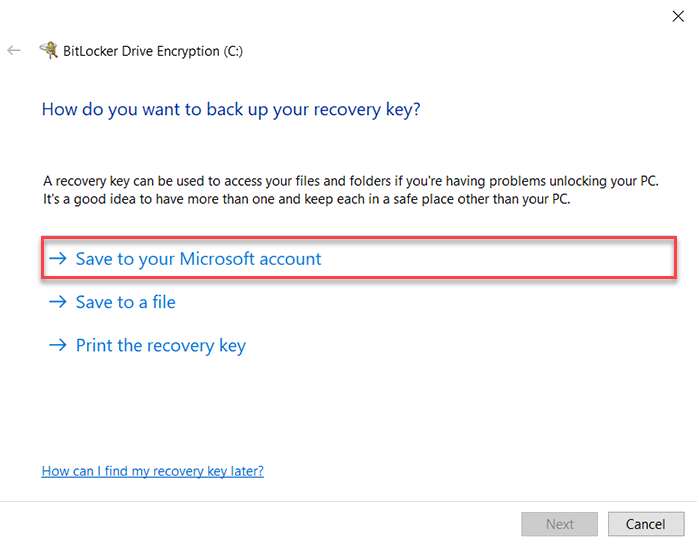
You will be presented with options for storing your recovery key. We recommend saving your recovery key to your Microsoft account (outlined in Red).**Important: Keep this key in a safe place and readily accessible if or when you need to use it.
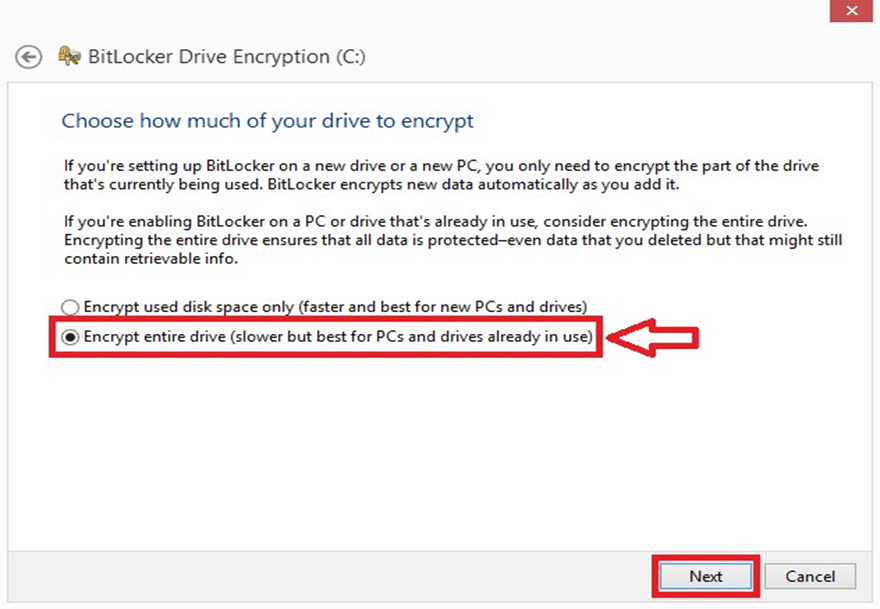
Make sure to select Encrypt the entire drive for full-disk encryption. UTHealth MSIT (Medical School Information Technology) policy requires all incoming student computers to be encrypted using full disk encryption. Click Next to continue.
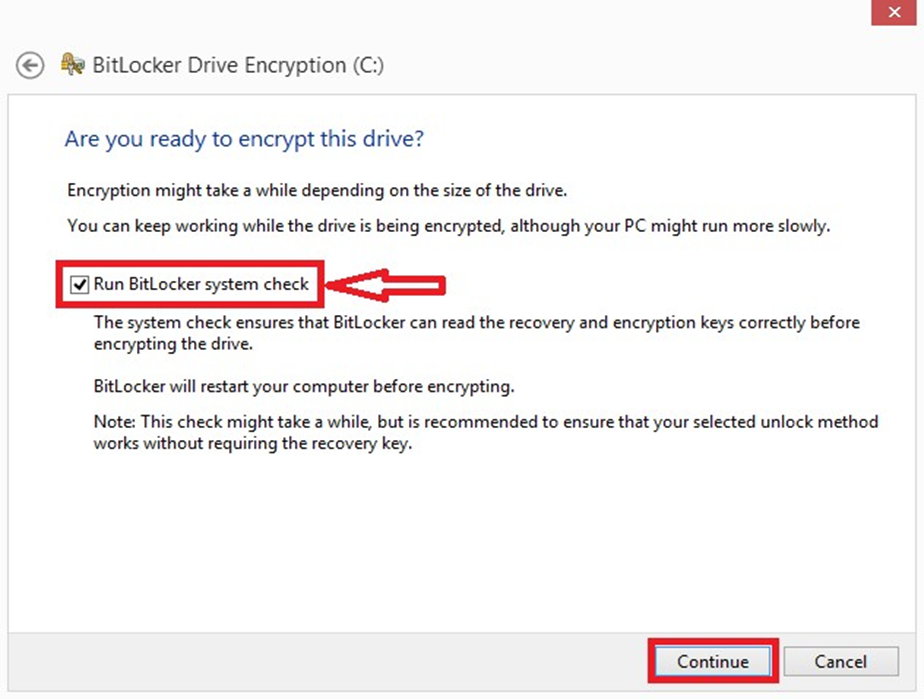
Check Run BitLocker system check, and click Continue.
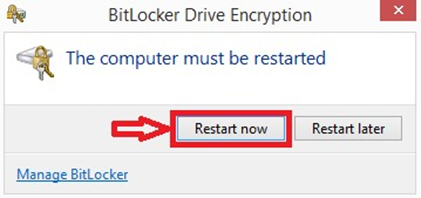
Click Restart now.
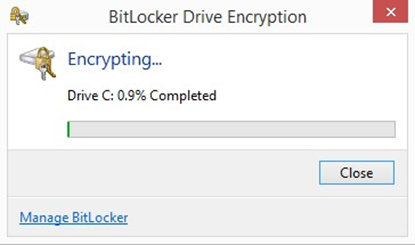
After the computer restarts, the encryption process will begin. Normally, the hard drive will take less than 2 hours to encrypt depending on its size. You can still use the computer during the process.
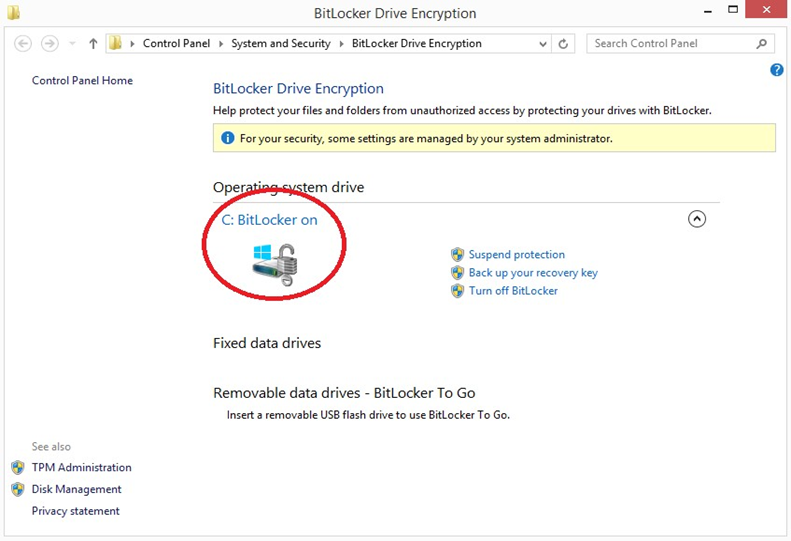
Click Manage BitLocker to make sure the encryption is successful.
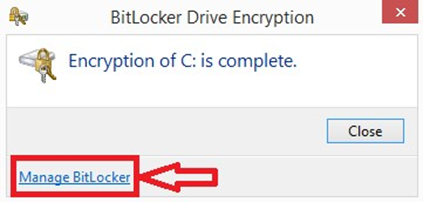
Your computer is now encrypted with BitLocker.
To Enable TPM (Trusted Platform Module) chip on Dell BIOS
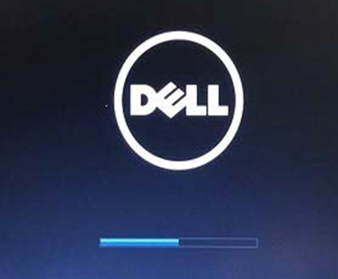
- Turn the computer on.
- As the computer performs POST, press the hotkey F2 to enter the BIOS.
- Once in the BIOS, locate the section on the left panel that configures Security.
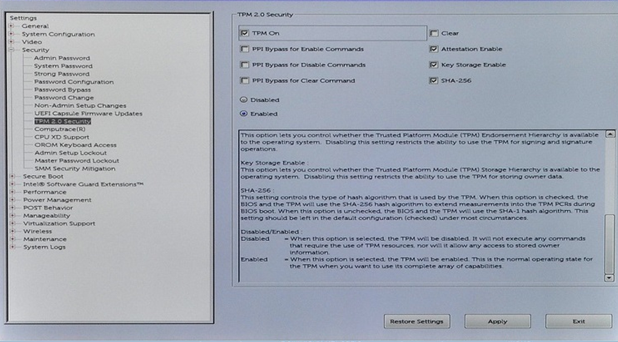
- In the Security section, locate the TPM option. Then on the right panel, check TPM On and click Apply.
- Click Exit to restart the computer.
Upgrade Windows 10 Pro to 11 Education Version
Windows 11 education version is available to upgrade at no cost from this link: http://uthealth.onthehub.com (external link)
Once you have your new Windows Activation key, you will need to change your computer’s product key to the new one.
- Select Start > Settings > Update & Security > Activation.
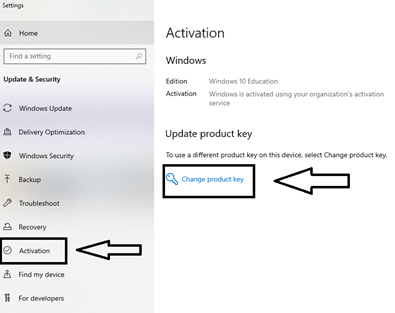
- Under Upgrade product key, select Change product key.
- Enter a product key.
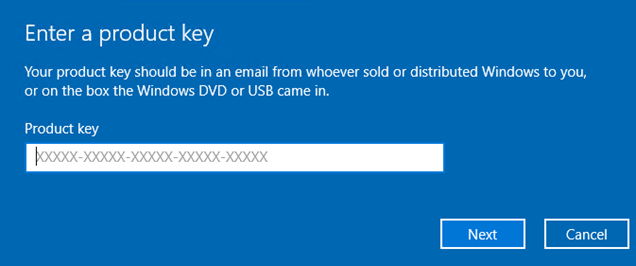
- Select Next to start the upgrade 11 Education Version.
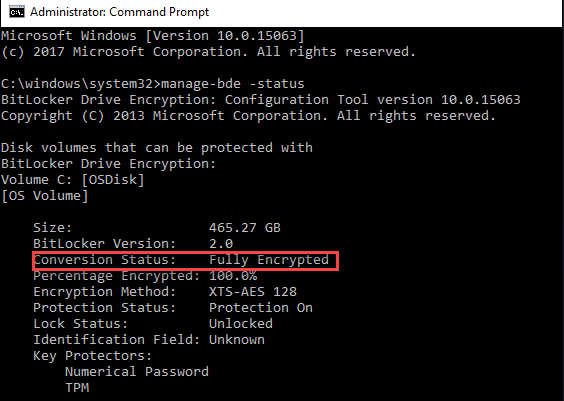
Verify if Full Disk Encryption is Enabled
Click the Windows Start button, type “cmd” to search for Command Prompt:
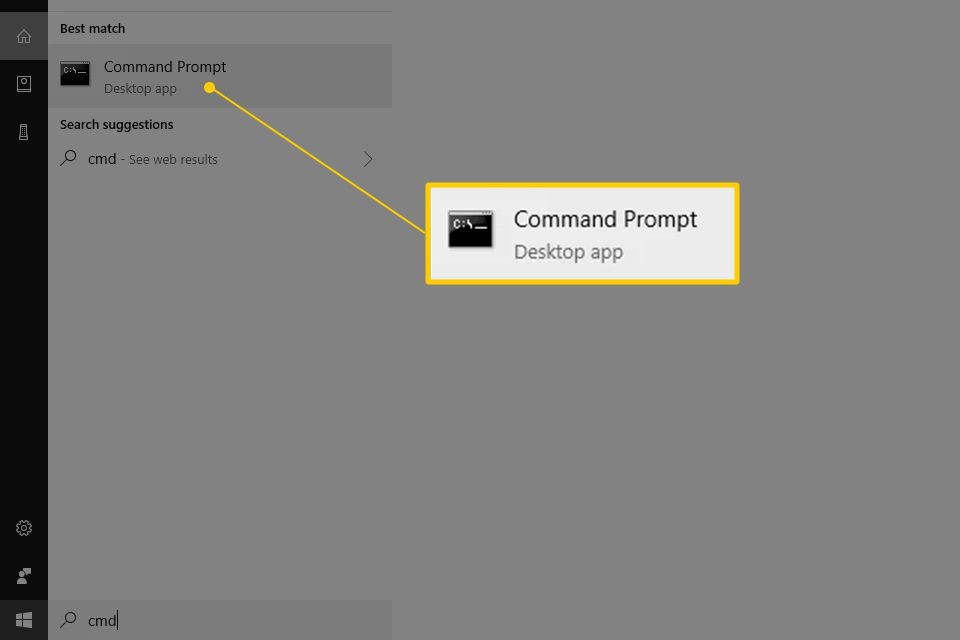
Right-click Command Prompt and select “Run as Administrator.”
In command prompt, type “manage-bde -status” and press Enter.
View the status of BitLocker on the drives in the computer: