Using the ACF Tiled Listing Page Template
The new ACF Tiled Listing template is an updated version of the Tiled Template that uses more fluid code and a newer third-party plugin. The template provides a layout of 4 tiles (or boxes) per row to display your services, programs, locations or any resources for your department.
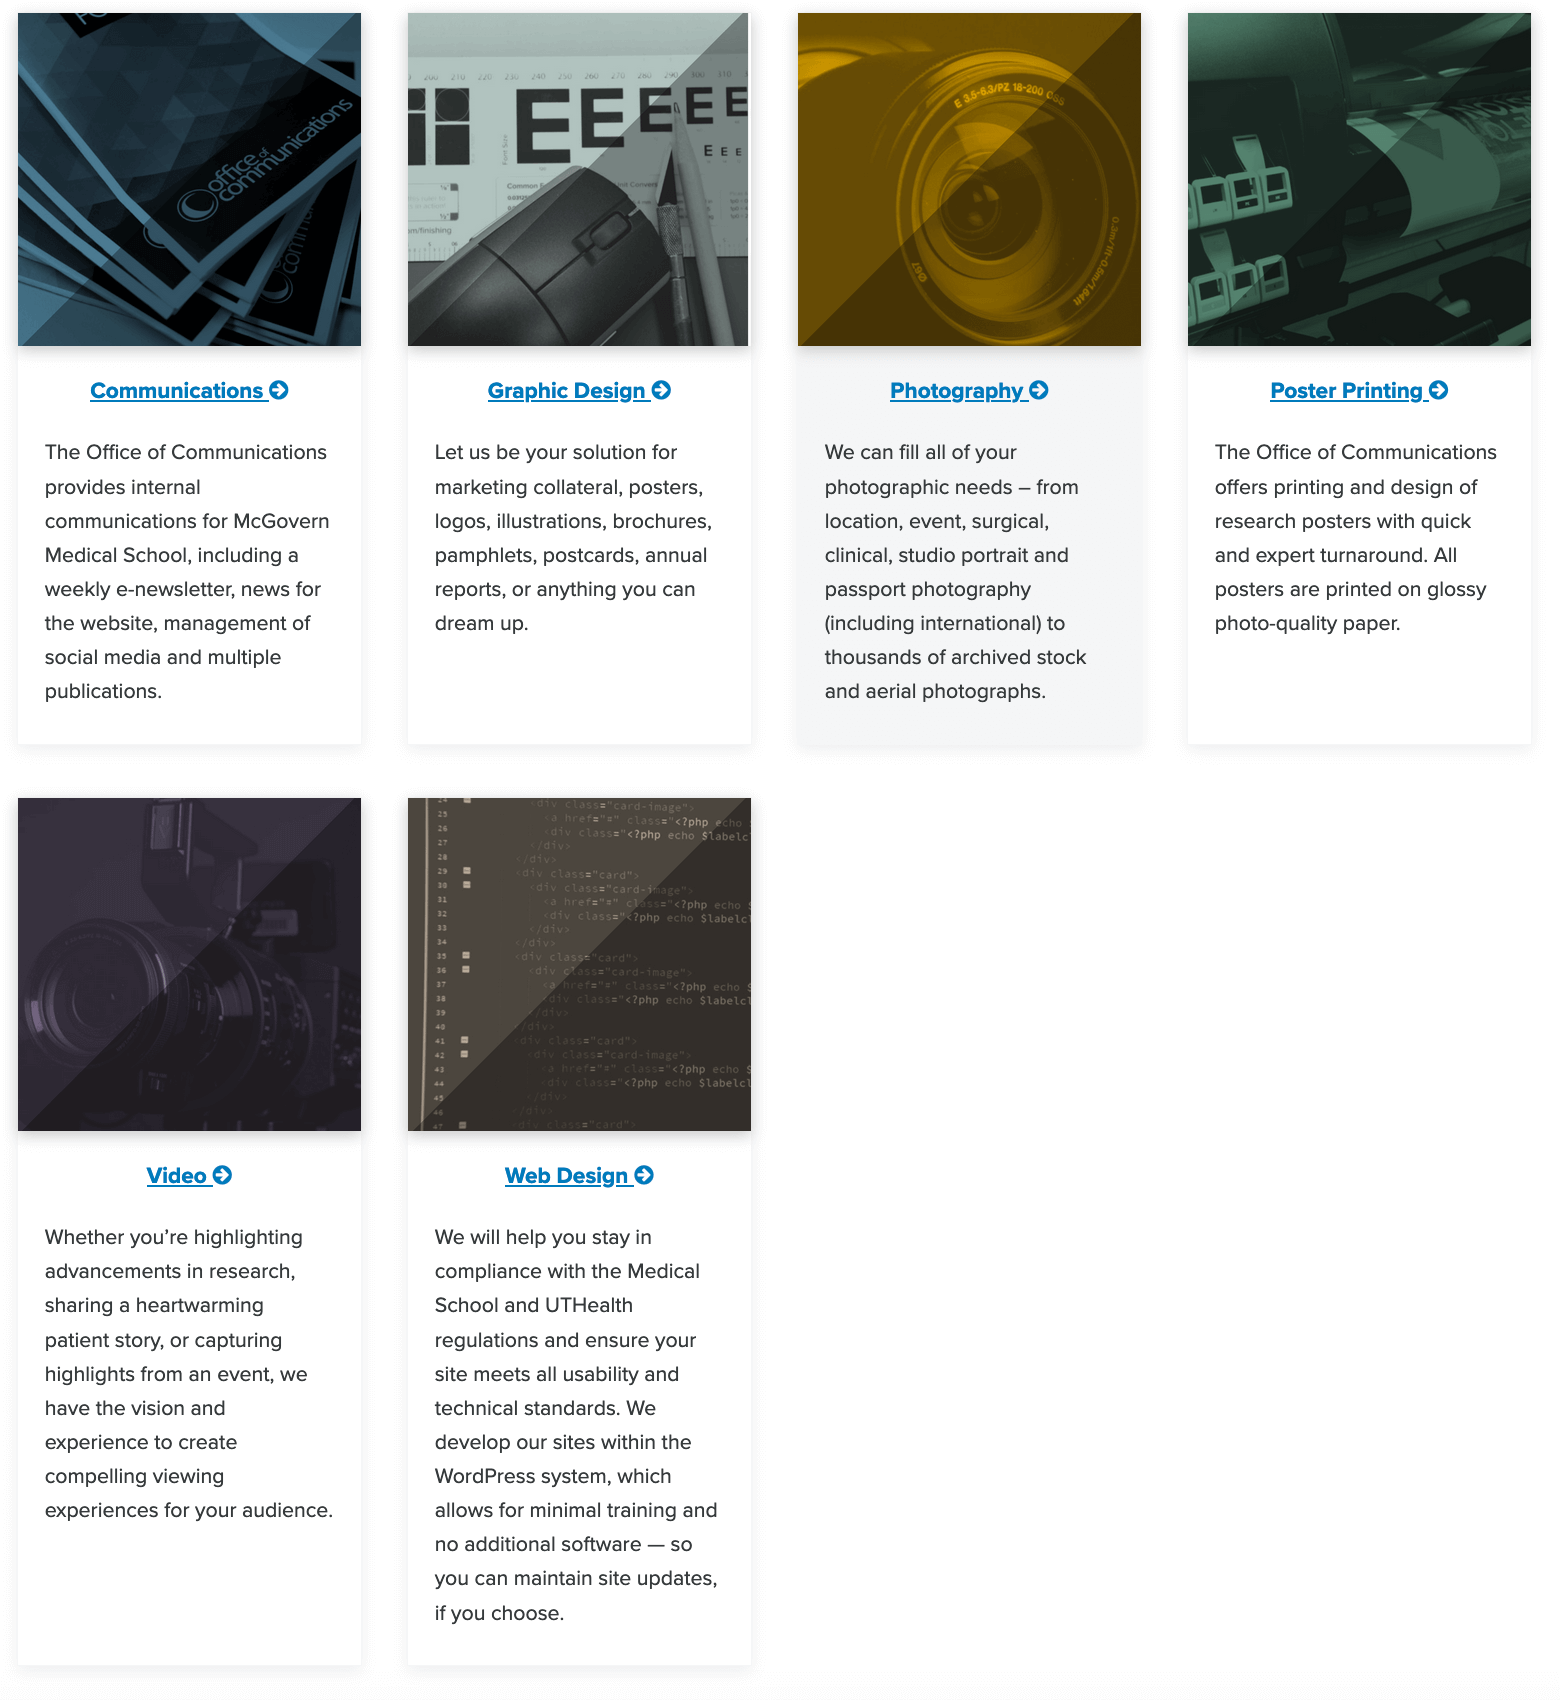
This layout is not intended to display a listing of department members. If you wish to use something to display your team, please consider using the Team Roster page template.
The ACF Tiled Listing template includes the following elements:
- Title – Label the tile with the name of the item you are presenting.
- Image – Add a decorative photo of the item you are presenting. Please make sure you provide alt text to the image.
- Link – Add a link to the page of the item you are presenting. The link will be applied to the image (if any) and the title.
- Description – Add text to describe the item you are presenting. This is an optional field.
The content stored in Tiled Page template will need to be moved over to the ACF Tiled Listing template. Please also note that the sidebar functionality has been removed from this template.
How to update pages that currently use the Tiled Page template
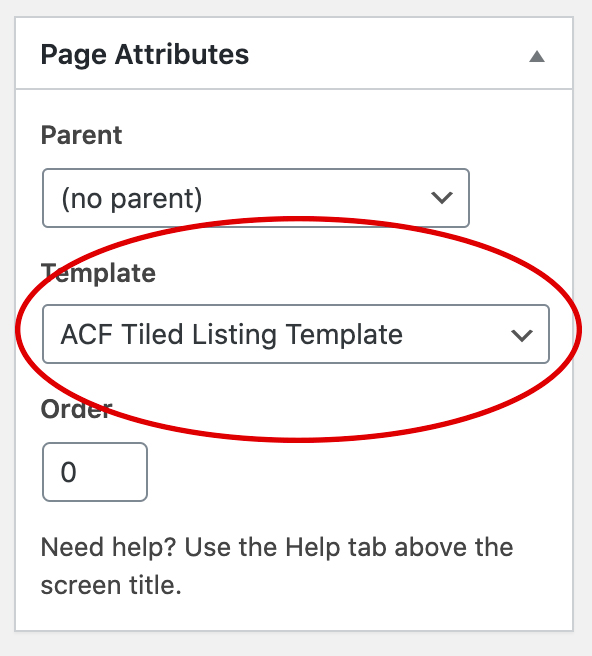
To check whether a page is using the old Tiled Page template, you will need to open the page backend and check the Template dropdown in the Page Attributes box.
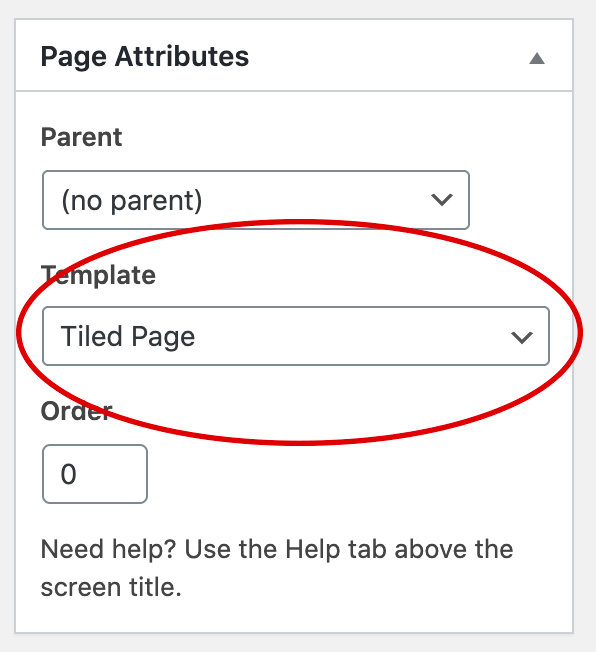
When you switch over to the new template, you will still see the old Tiled Listing Options & Tiled Listing metaboxes with your content in them as well as the new “ACF Tiled Listing Layout” metabox.

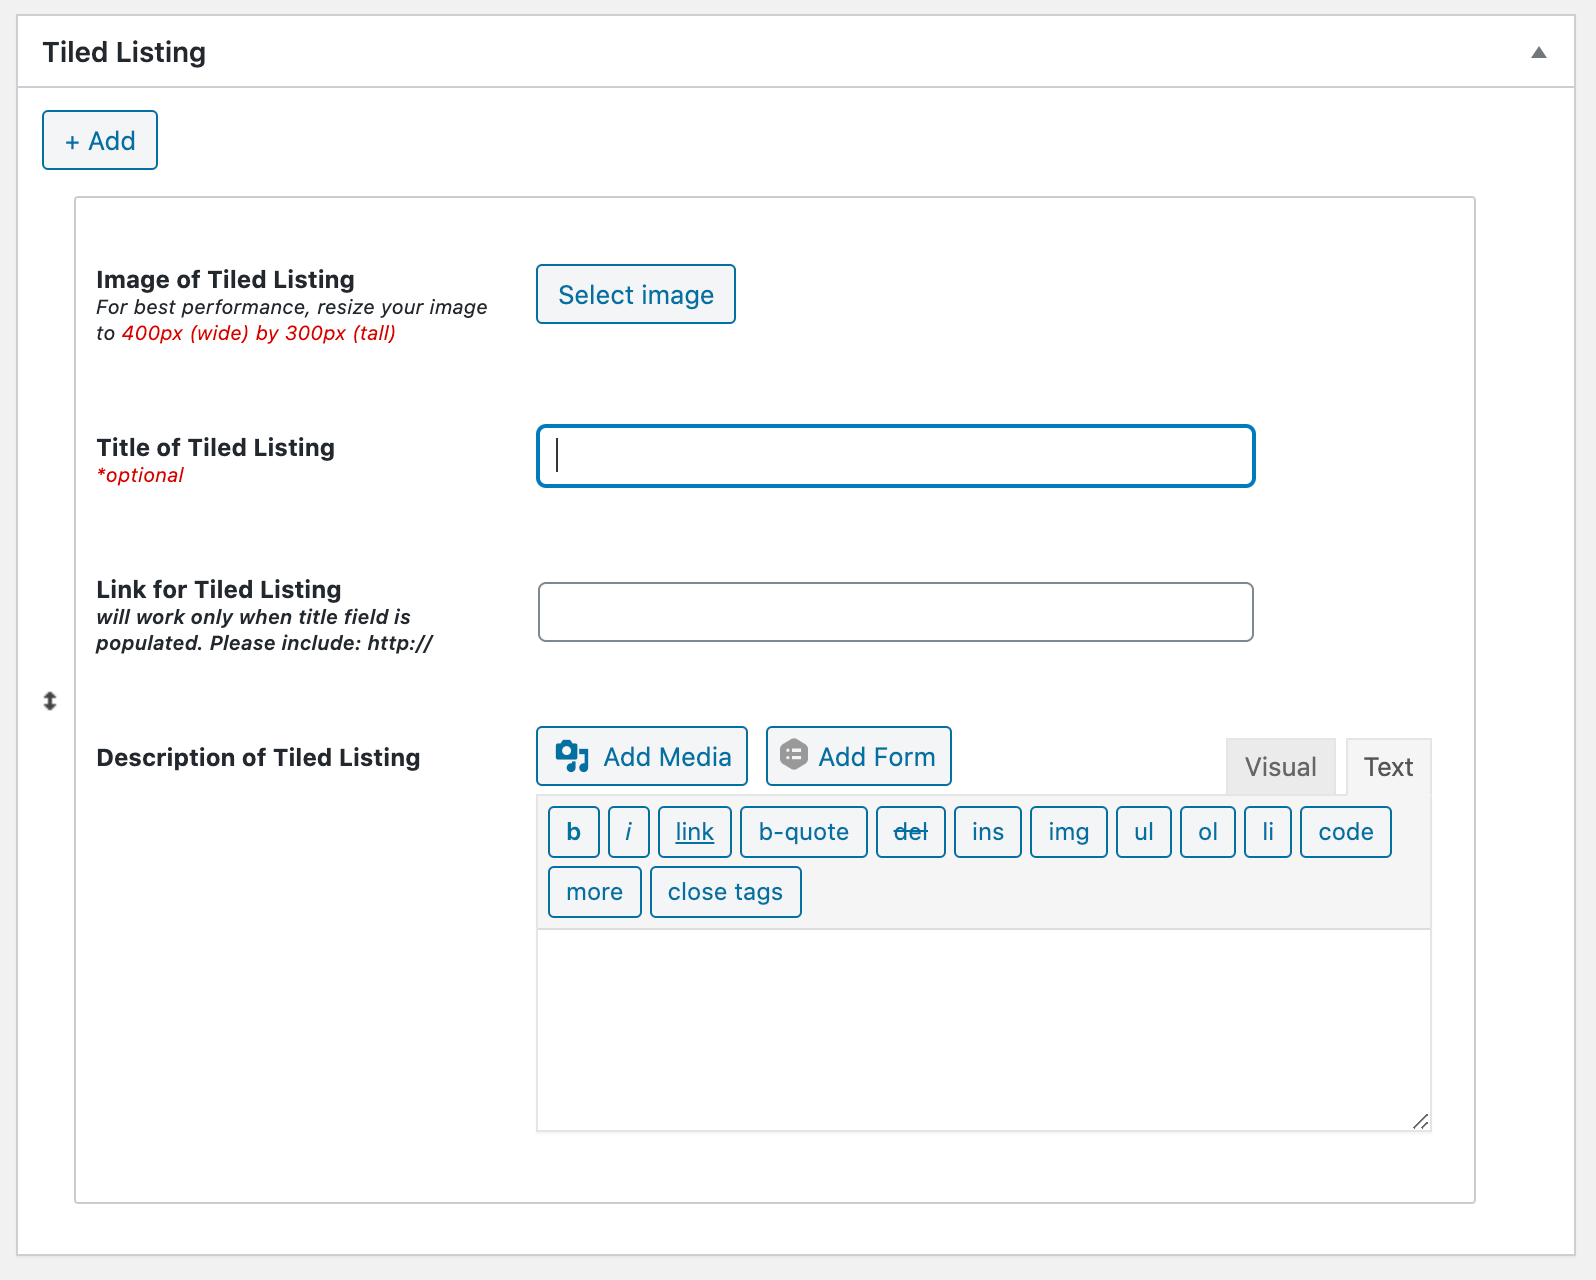
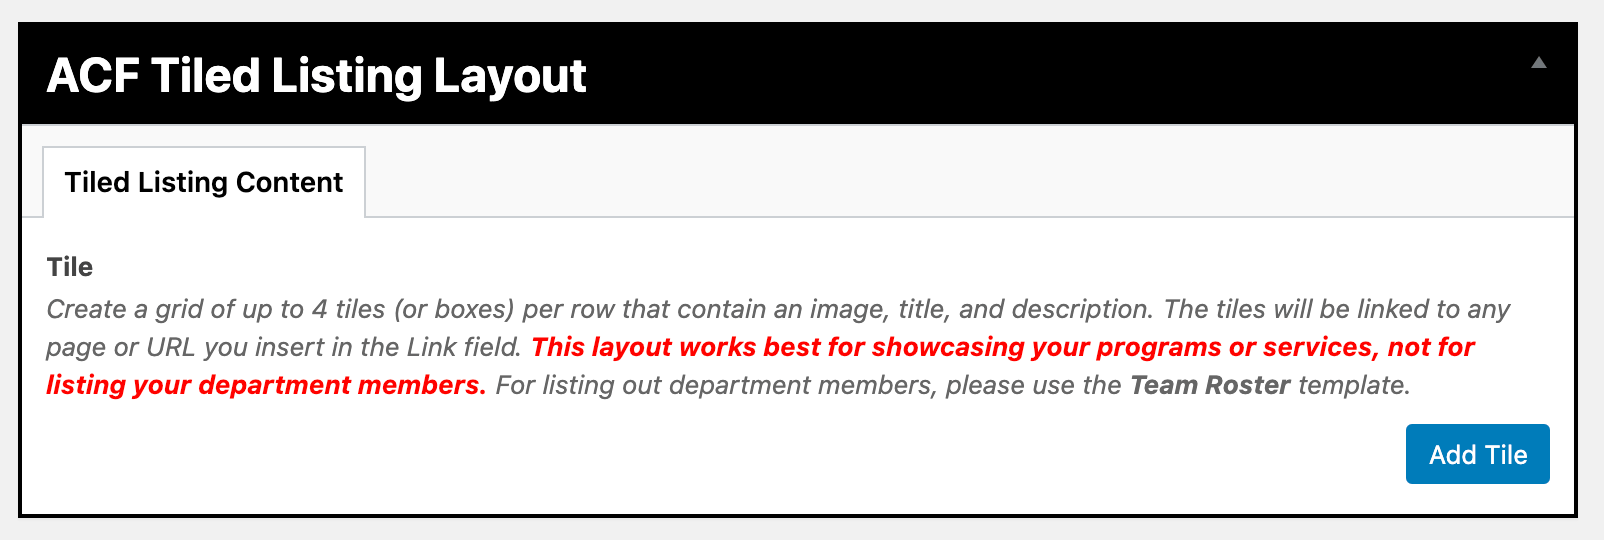
The previous Tiled metaboxes will expire soon. So you will need to copy your content from the Tiled Listing metabox into the ACF Tiled Listing Layout metabox.
Using the ACF Tiled Listing Template
First, you will need to set or switch the template to the new ACF Tiled Listing Template.
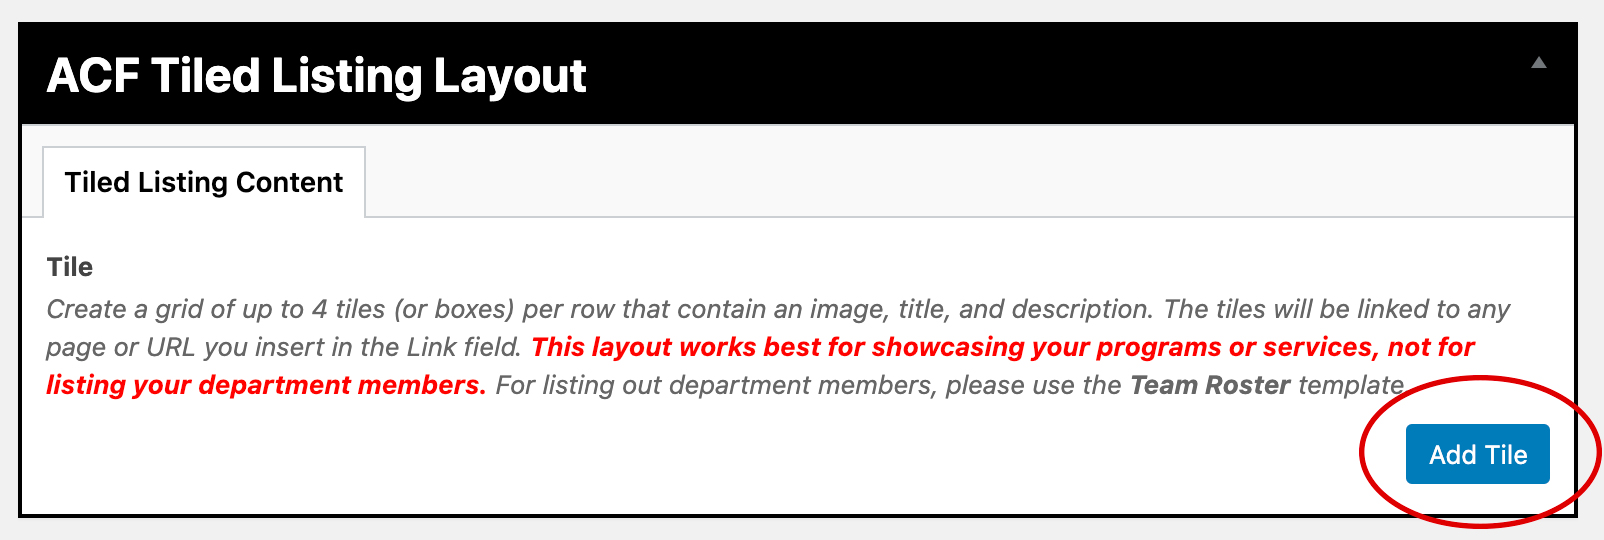
Once the template has been selected, a new metabox called “ACF Tiled Listing Layout” will appear towards the bottom of the page. To create a new tile, click on the “Add Tile” button.
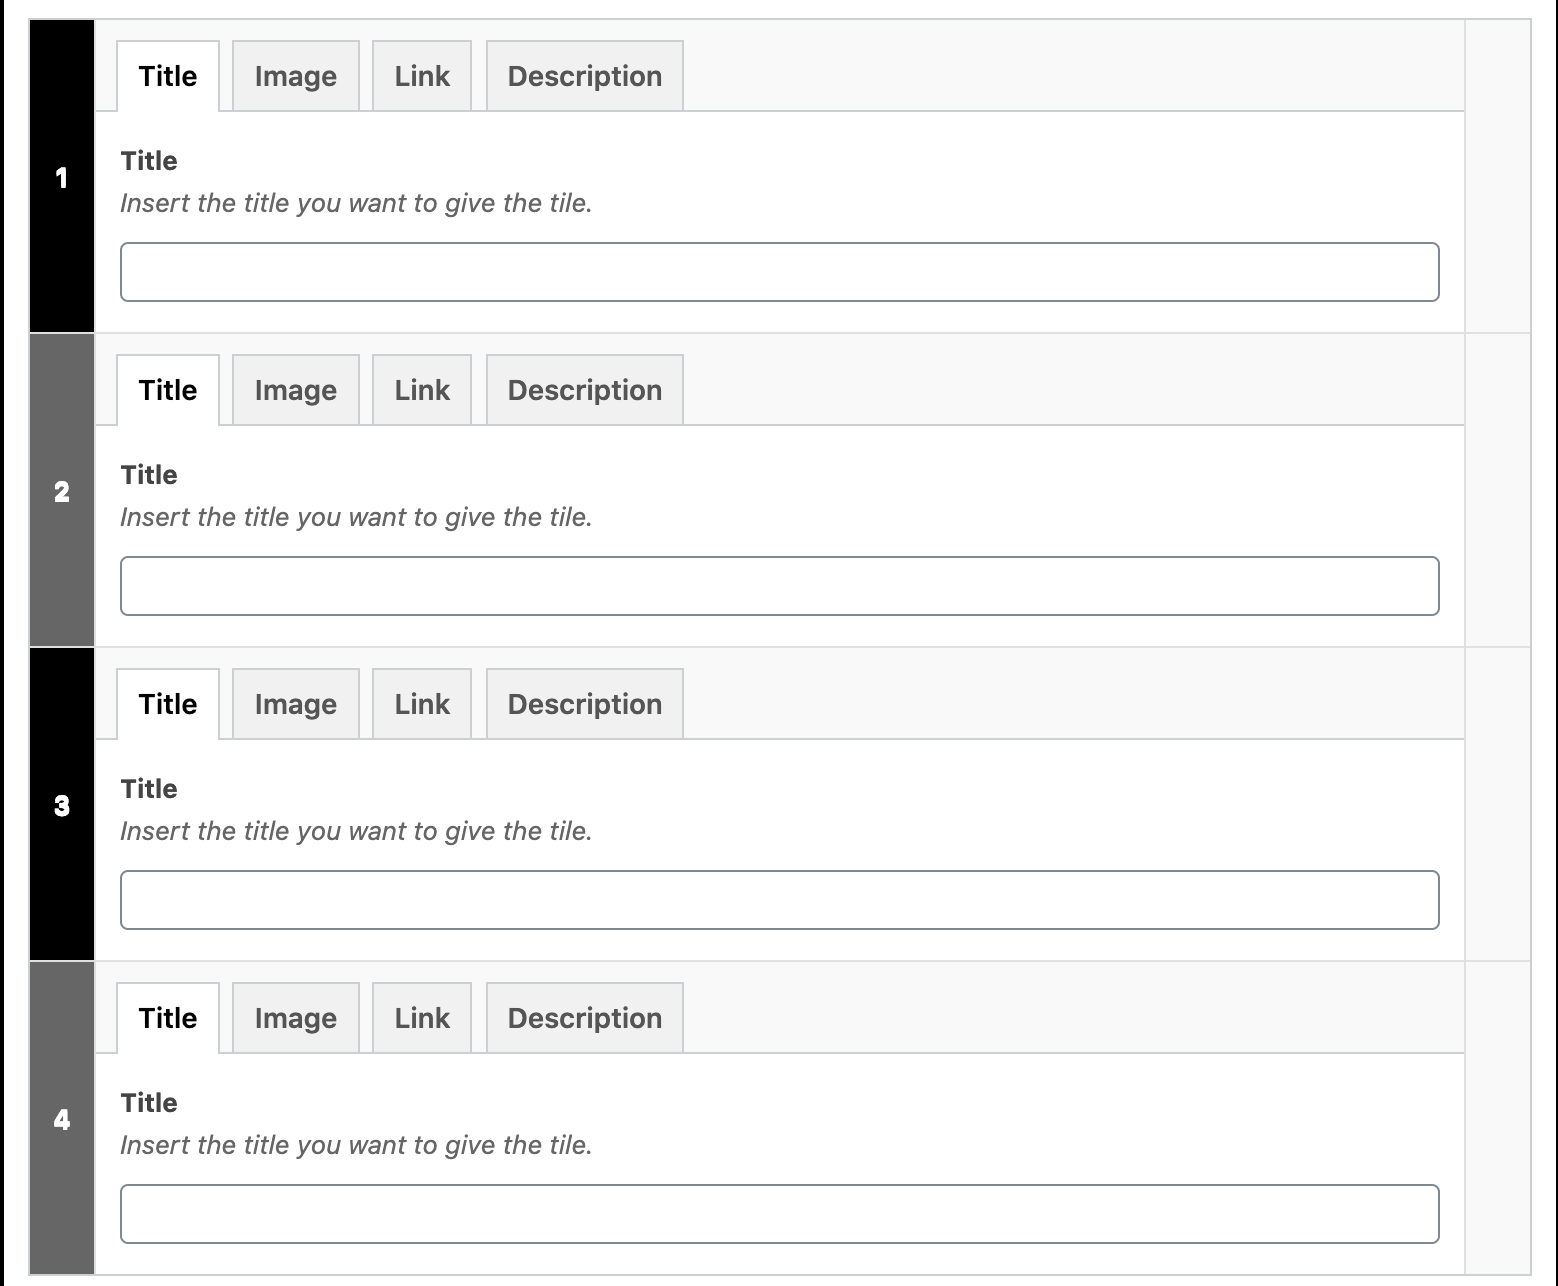
You will then see a box appear that contains tabs for the Title, Image, Link & Description fields. Each tab has a set of instructions to follow. The Title tab will be selected by default.

The Image tab will allow you to select an image to use as the thumbnail for the tile. Any images used in the field will be cropped to match a square aspect ratio to keep all tiles in the row aligned.
You may use existing images in your media gallery or upload new ones. Please do not upload images larger than 1 mb as that will slow down your website. All images must have alt text assigned to them.

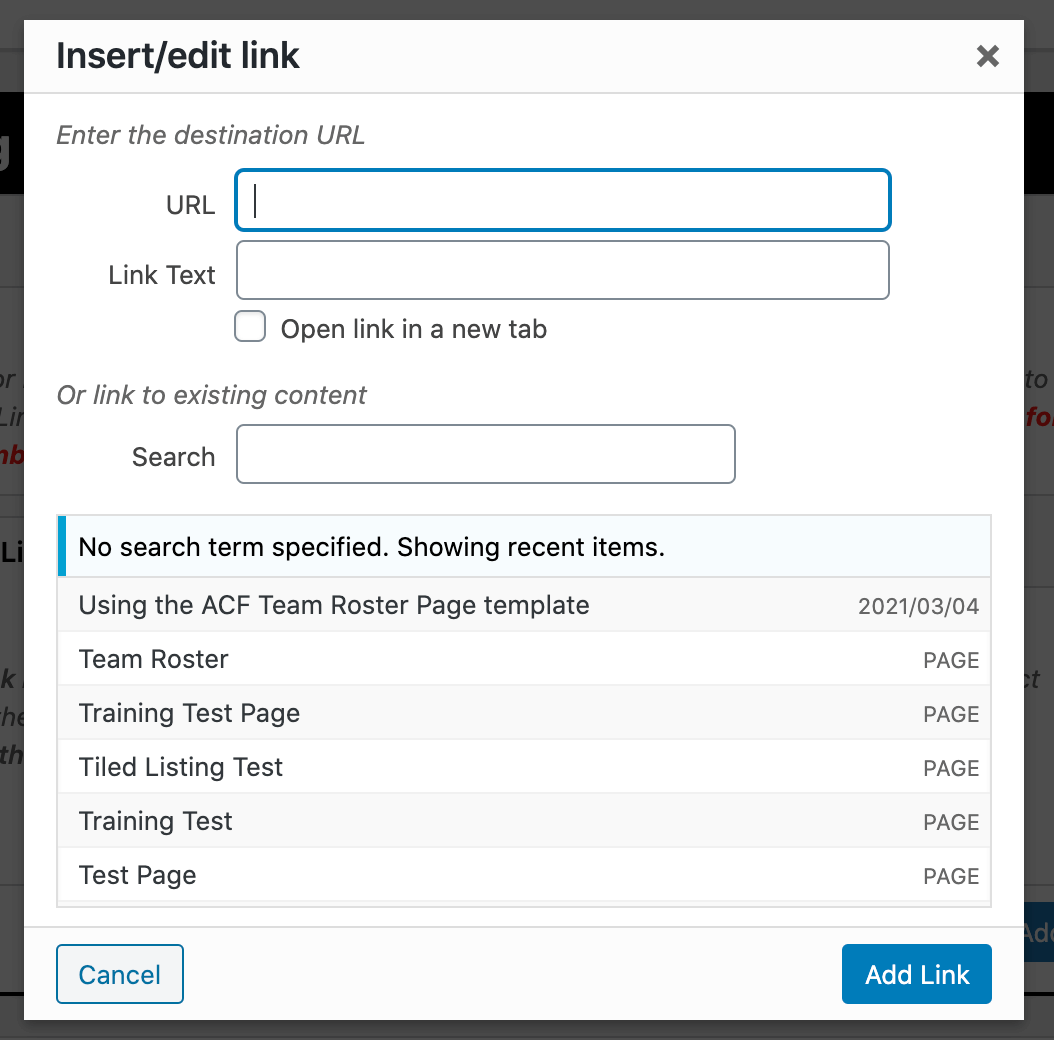
The Link tab will allow you to add a URL that will be linked to the image and title of the tile. Click on the “Select Link” button to open a box where you can paste in your link. Alternatively, you may choose to add an internal link by selecting from the list of pages that appears in the box. Click on the “Add Link” button to close out of the box.

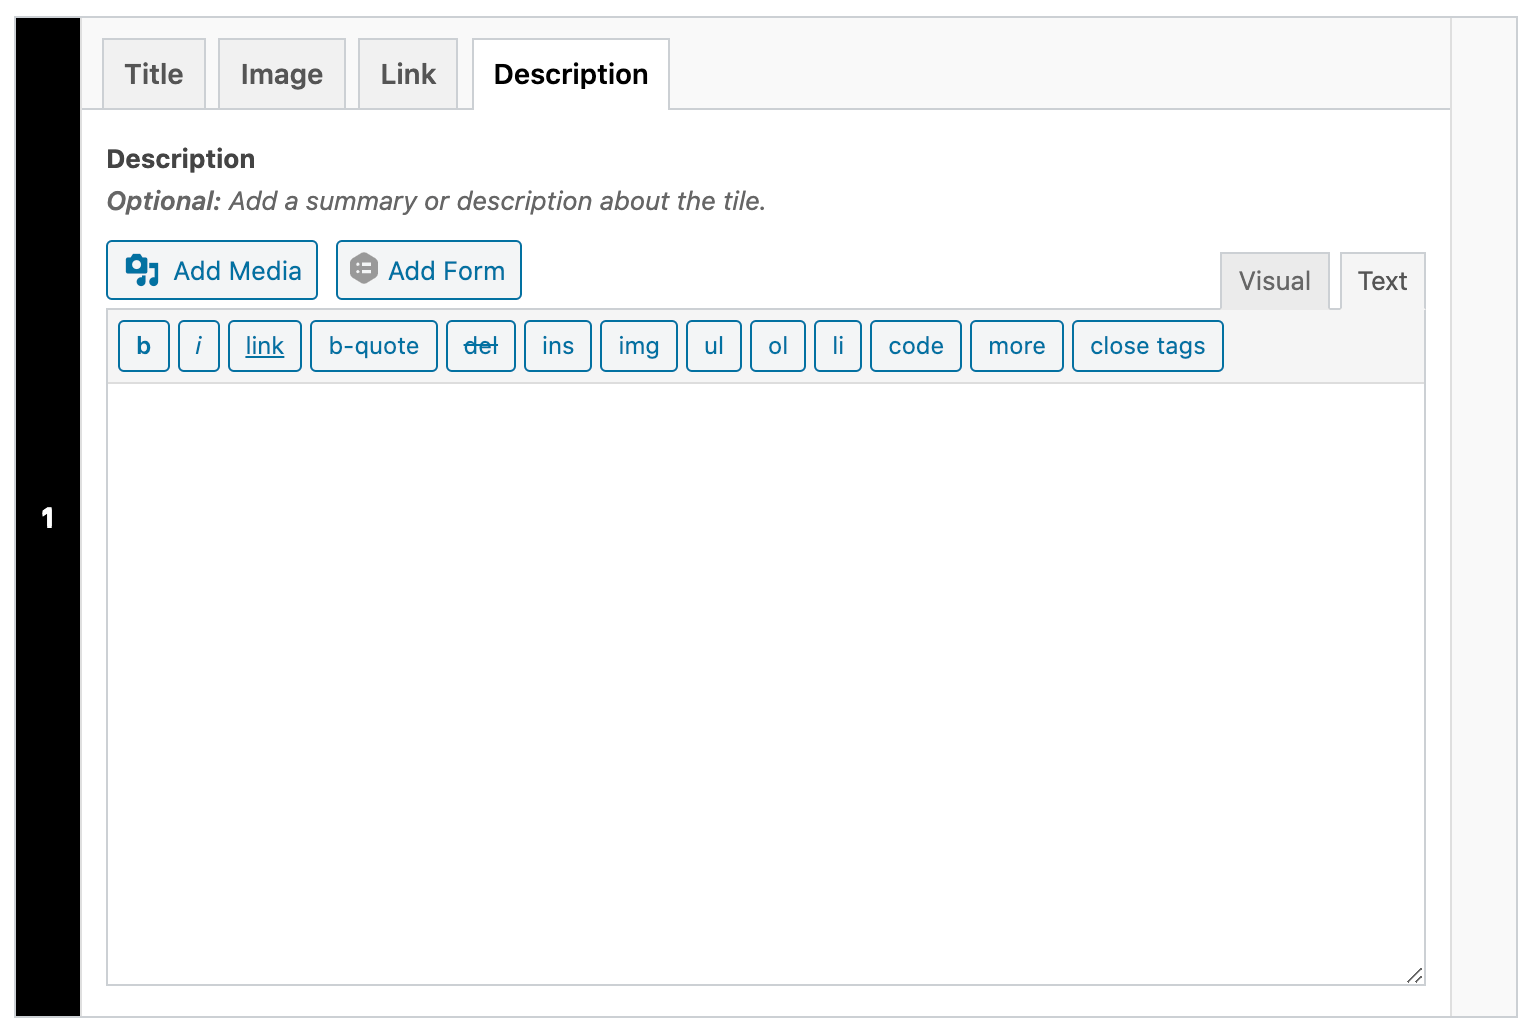
The Description tab will allow you to insert any needed text to the tile. This is an optional field and helps give users a brief summary of what they are clicking on.
Once you have filled in the content for one tile, you can click on the “Add Tile” button to continue adding more. Each tile is represented as a numbered row. The colors of each row number alternate, making it easier for you to distinguish between rows.
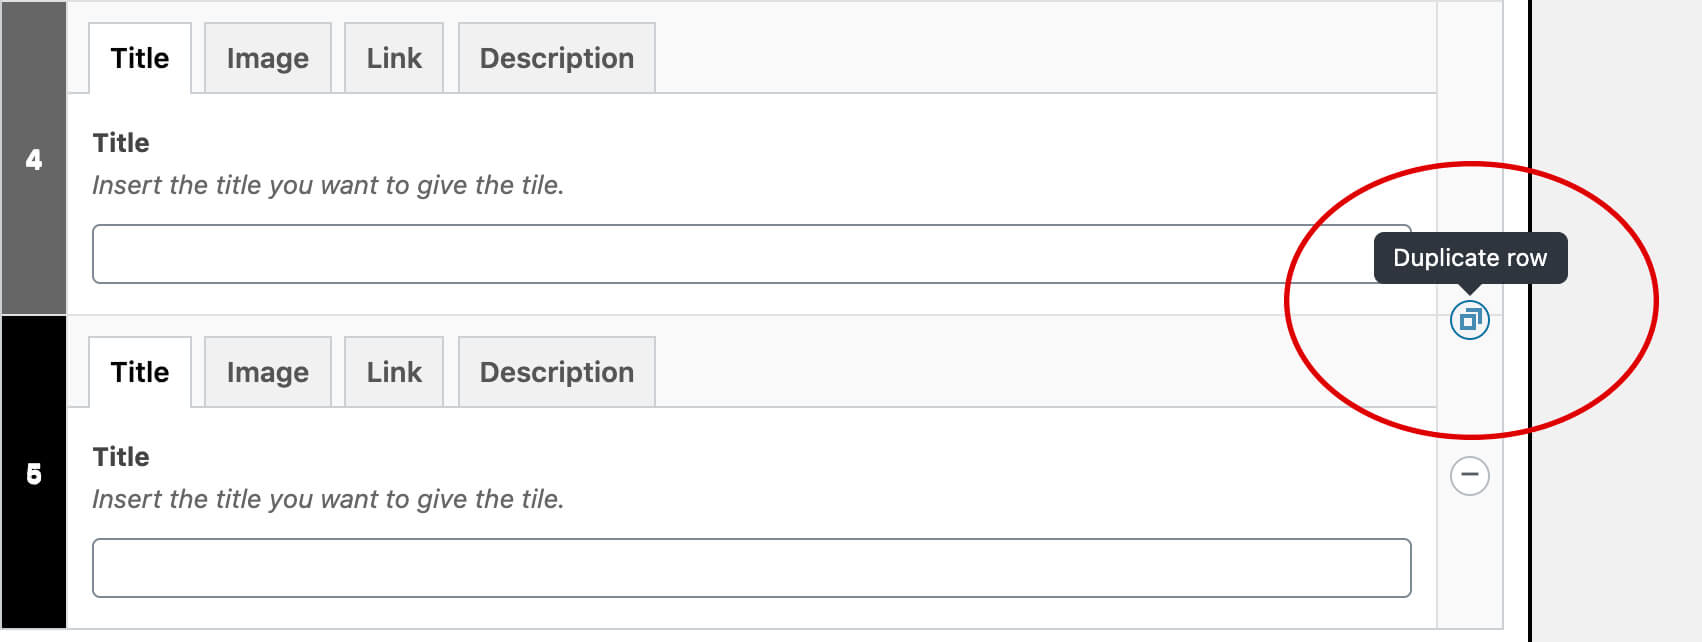
Alternatively, you may duplicate a row by clicking on the duplicate icon at the top right of each row.
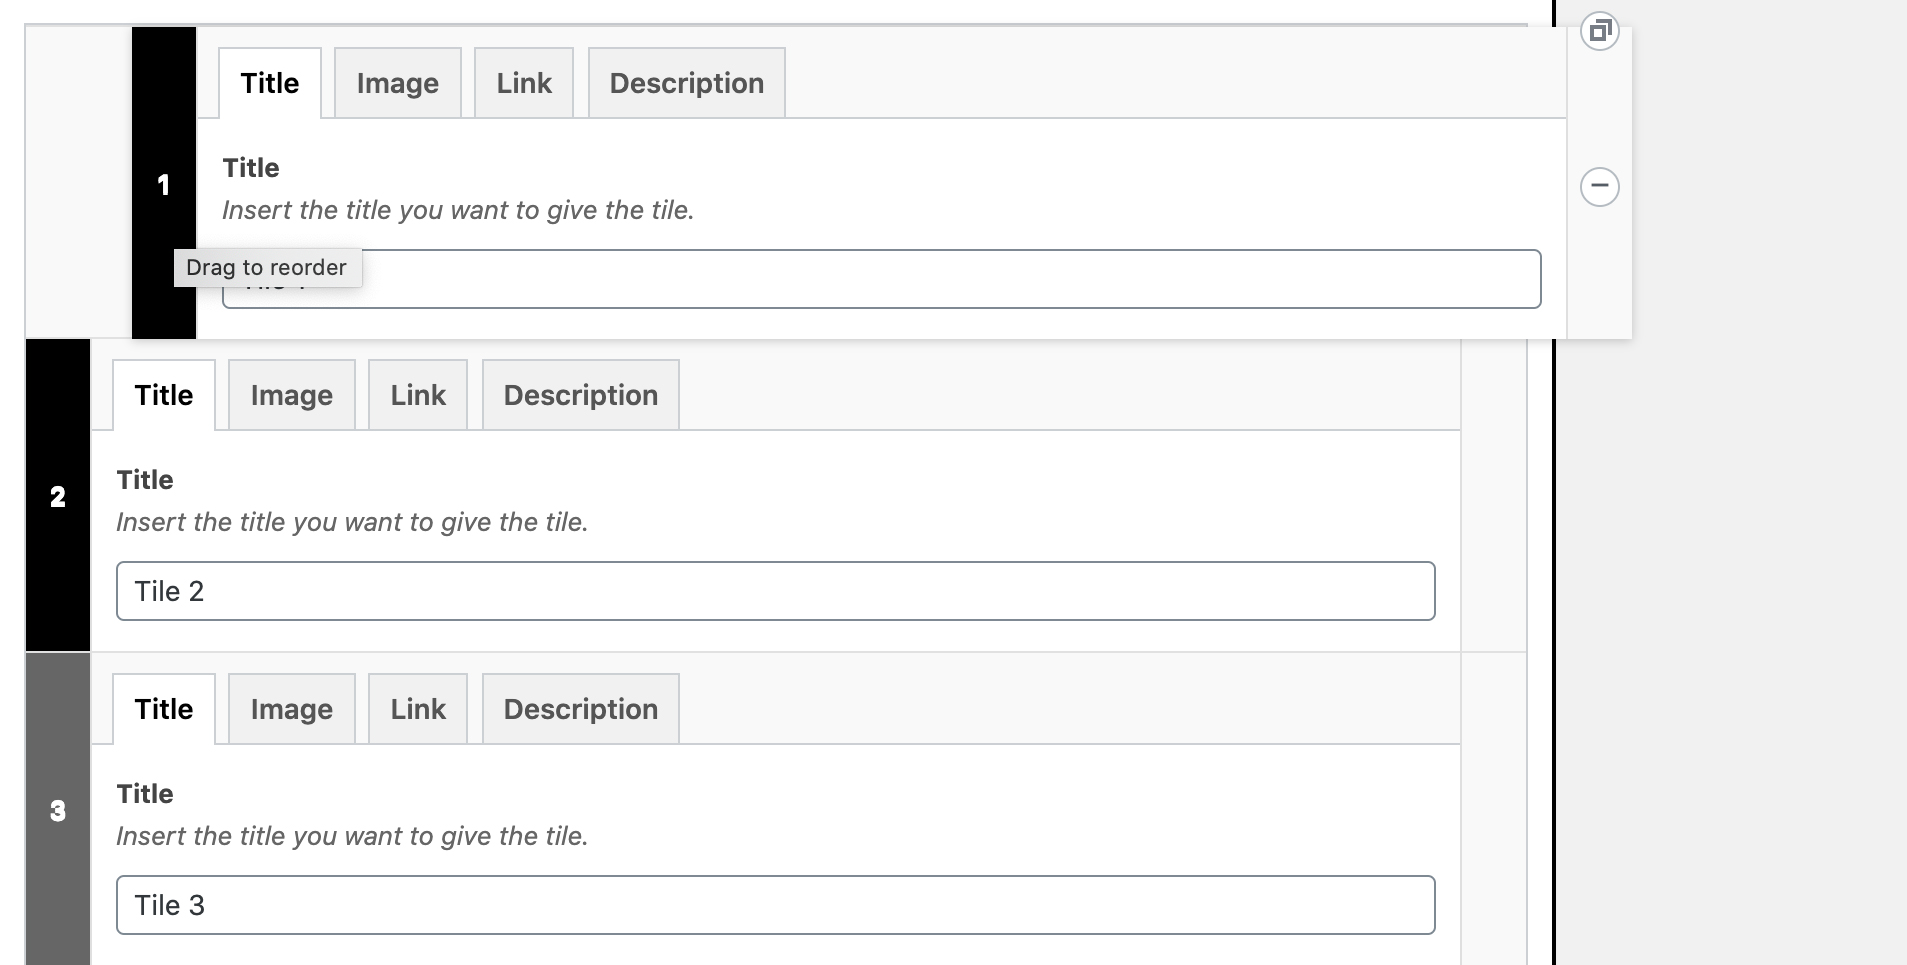
You can drag the rows to reorder them however you wish. Click on the number of the row you want to move and drag it to where you want to place it.
Removing rows can be done by clicking on the minus (-) icon when you hover your mouse over a row. After you click on it once, it will ask if you are sure you want to remove the row. Click “remove” to delete the row.


If you are experiencing any problems with the ACF Tiled Listing template or have any further questions, you can email us at [email protected] for assistance.