Connecting To Webmail Via Citrix
These instructions will help users connect to the Citrix version of UTHealth webmail.
These instructions may be needed only if you are working at a Harris Health facility where UTHealth webmail’s normal address (external link) is being blocked by Harris Health. You should not need these instructions while in other locations.
Step 1: Connect To The UTHealth Citrix Server
Using Google Chrome or some other browser, go to the following web address to begin:
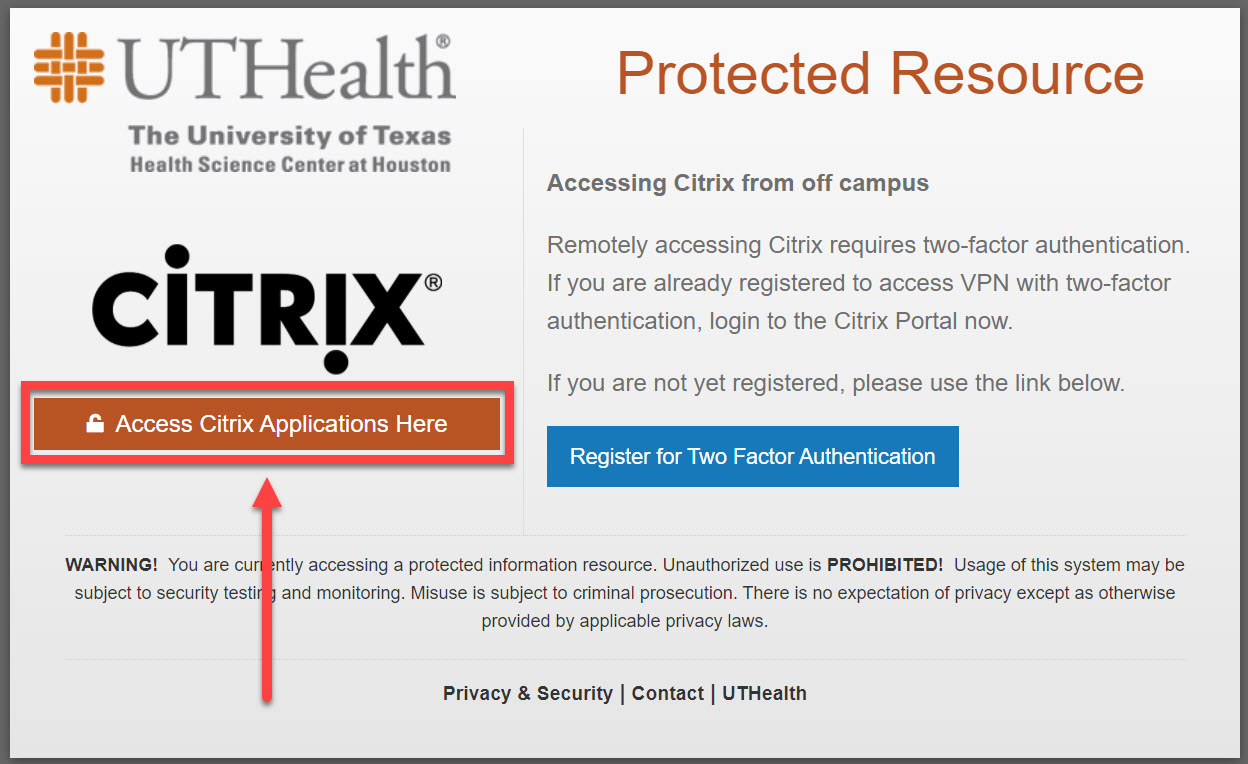
Step 2: Protected Resource Page
Click the Access Citrix Applications Here button.
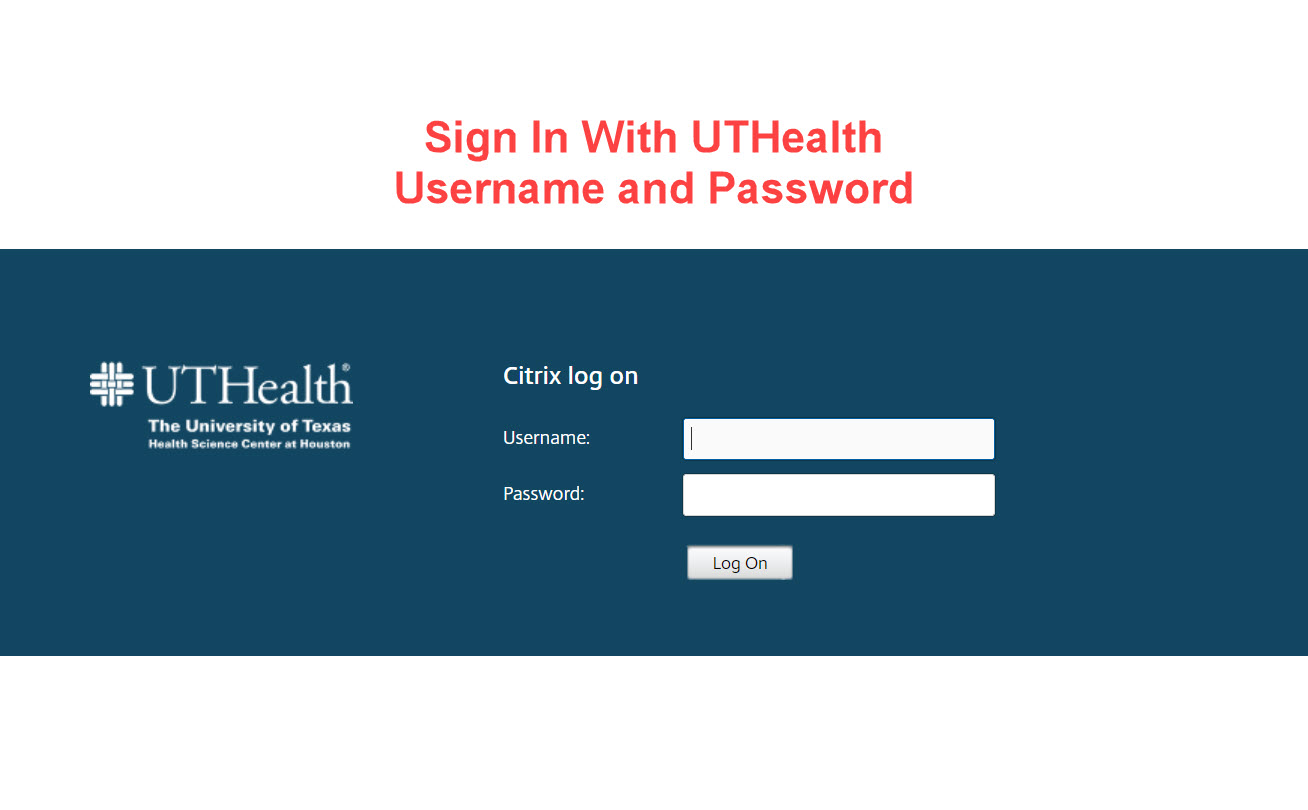
Step 3: Select Exchange Online Email
Sign in to the Citrix portal using your UTHealth username and password.
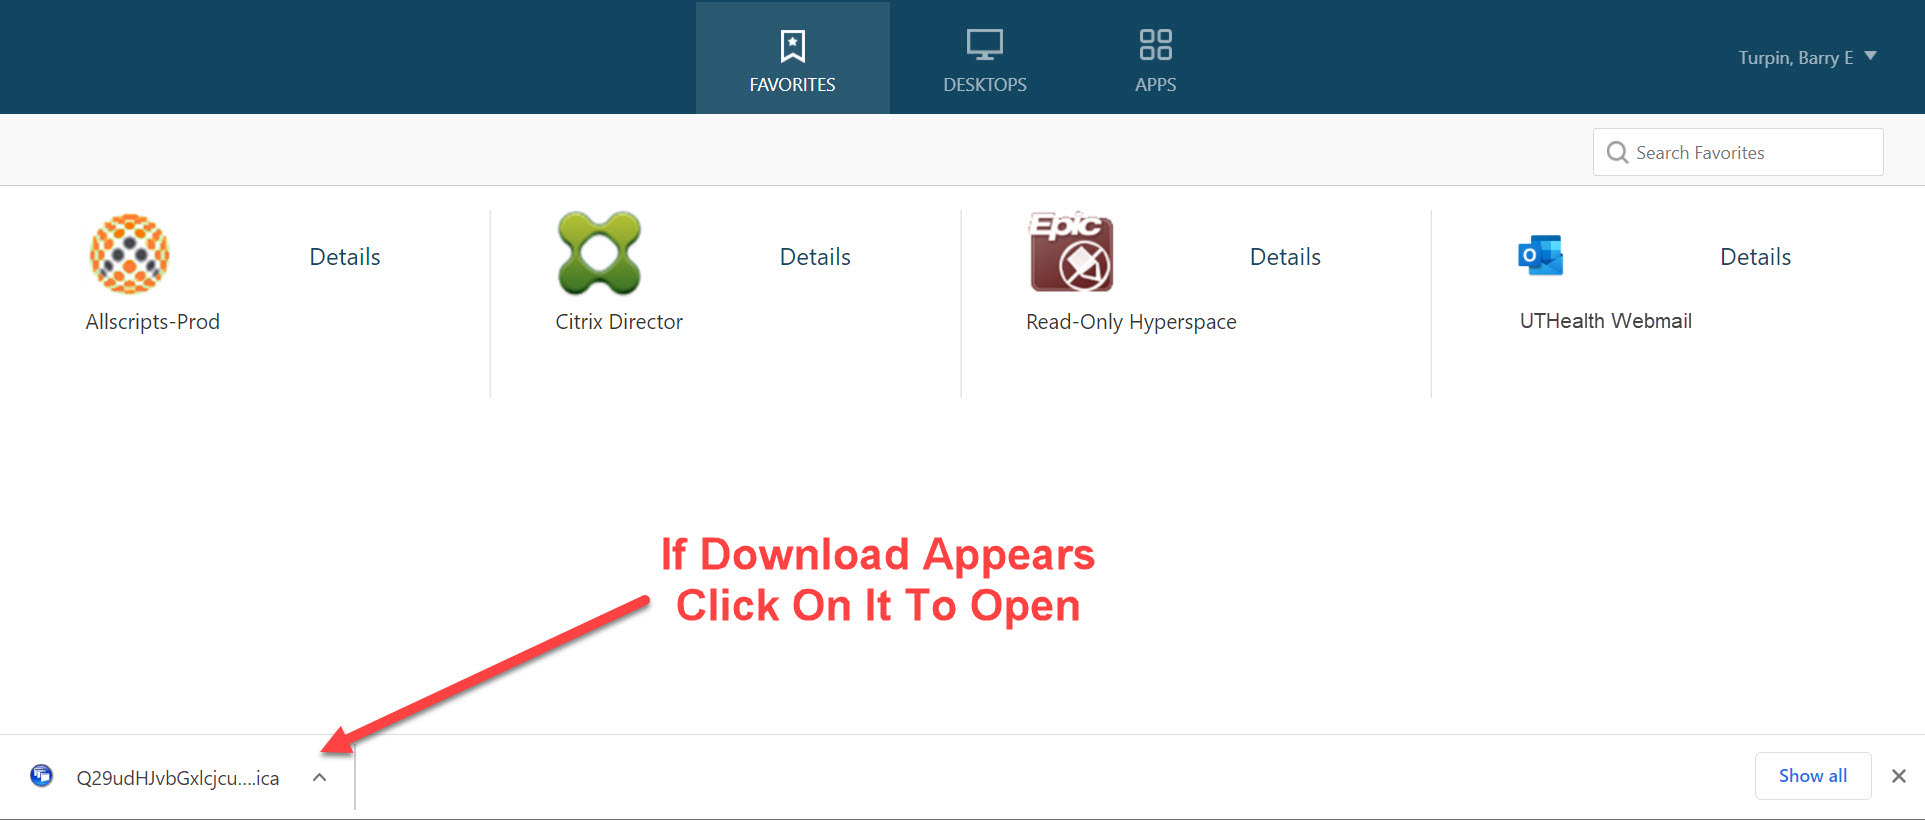
Step 4: Select Webmail
Click on the icon marked Exchange Online non-Kiosk. (NOTE: The onscreen location of the Exchange Online icon will vary for individual users.)

In most browsers, the Exchange Online sign in box will pop up automatically.
However, if you receive a download in your browser immediately after clicking on the Exchange Online icon, you should click on the download to manually open the Exchange Online sign in screen.
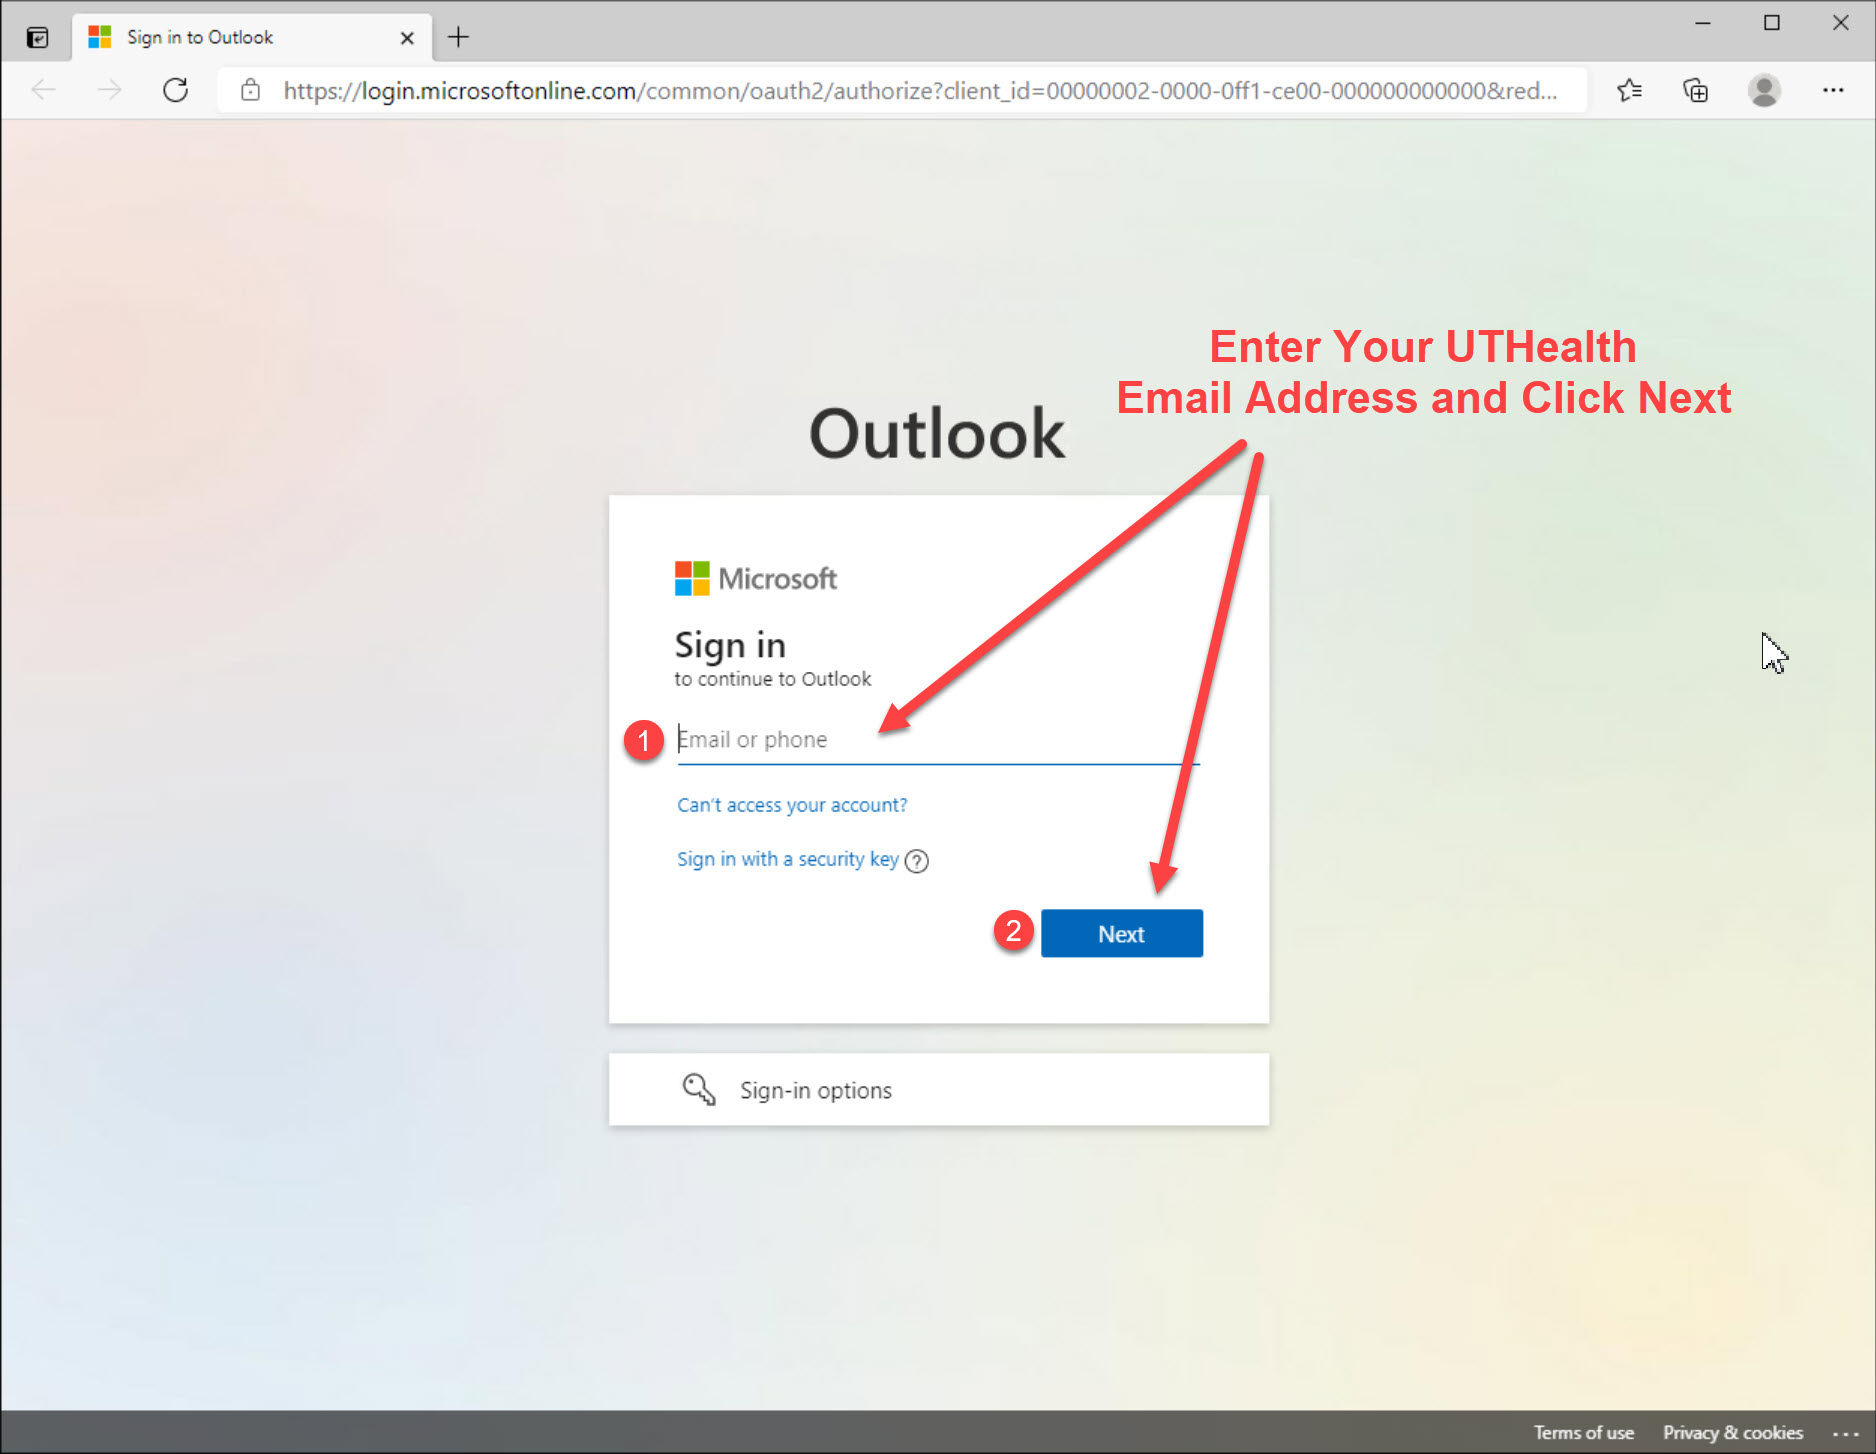
Step 5: Sign In To Exchange Online Email
1. Type in your UTHealth email address.
2. Click the Next Button.
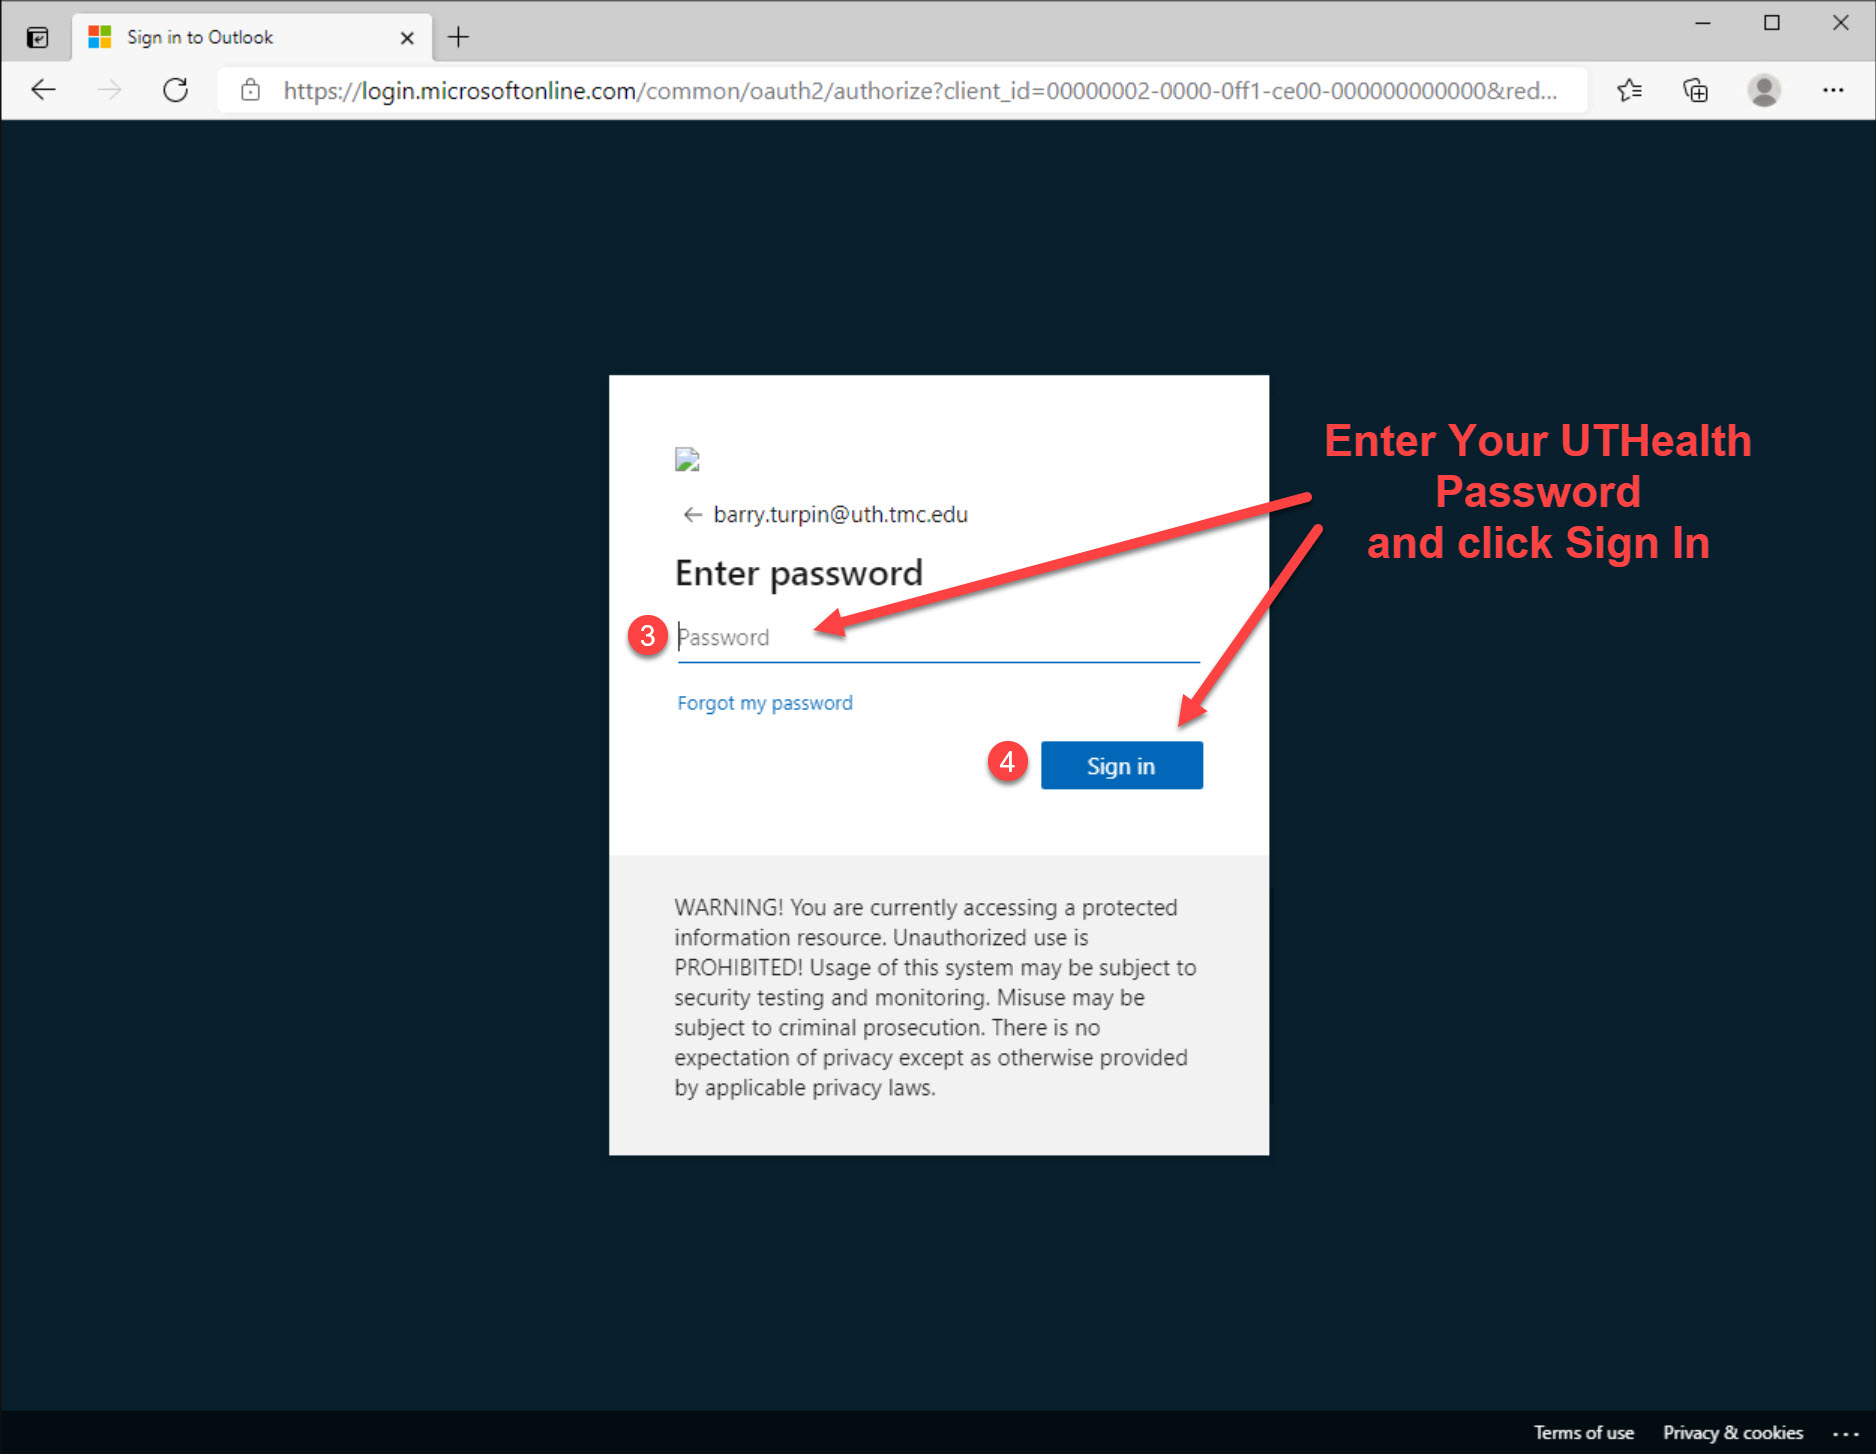
3. Enter your UTHealth password.
4. Click the Sign In button.
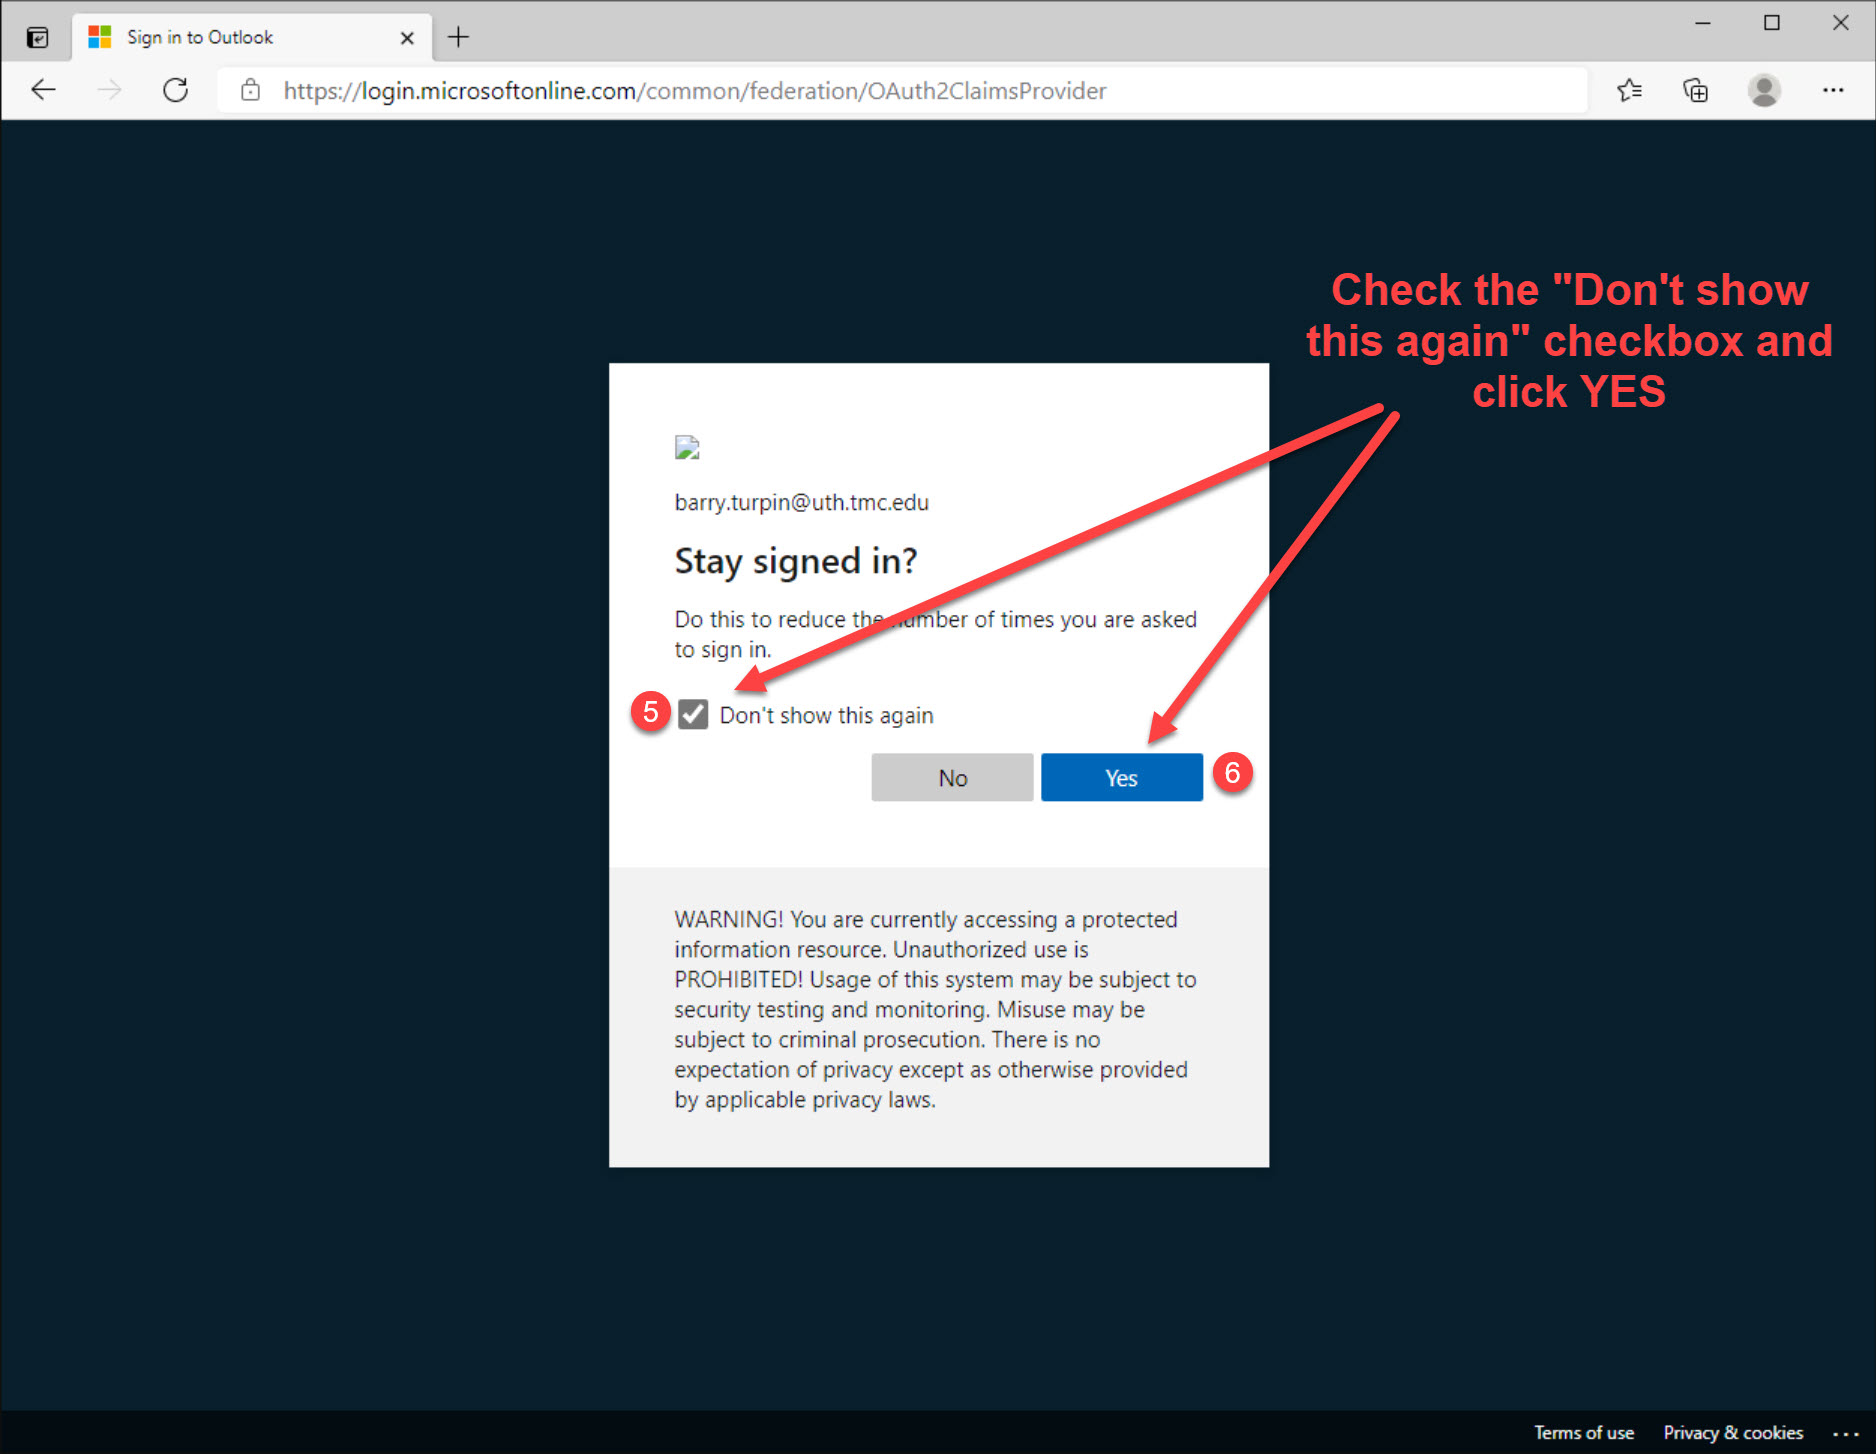
If prompted to Stay Signed In, 5) check the checkbox marked Don’t Show This Again and 6) click the Yes button.
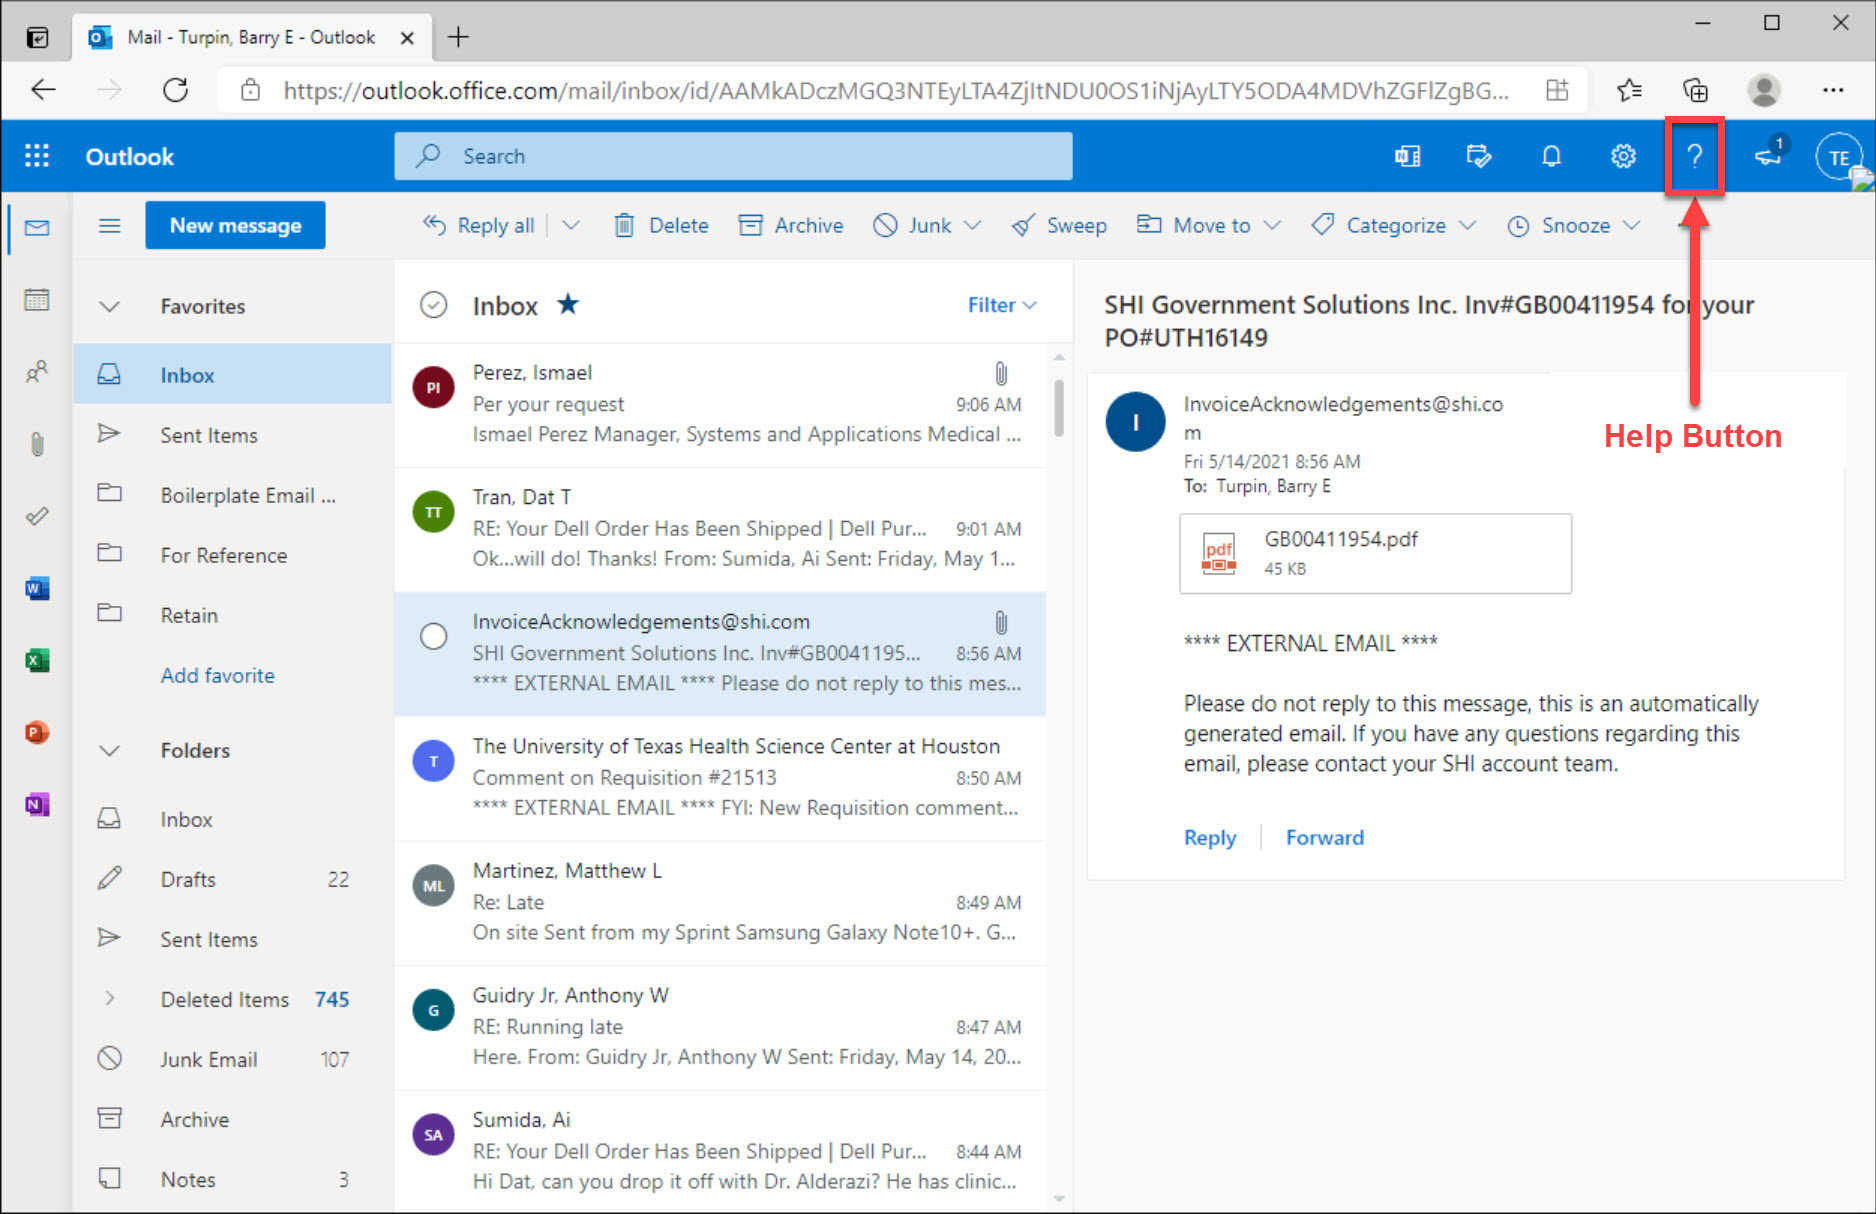
Step 6: Enter The Webmail Screen
At this point you should see the UTHealth webmail screen, which is the same webmail interface used elsewhere. If you need help using the webmail interface, you can click the Question Mark (?) icon in the upper right hand corner of the webmail screen to learn more about how to use it.